Microsoft Teams is the application we use for our synchronous online meetings and lectures. Teams Lecture links can be set up directly in Moodle for those supporting hybrid and blended learning. Any Teams meetings that are recorded will automatically be shared, with those who were present, via Microsoft Stream.
A Moodle Teams link can be set up for a lecture and shared with students directly on your Moodle page. You can either create just one lecture link for the whole module on Moodle and keep reusing it, or you can create separate links for sessions.
- If you create just one lecture link for the whole module, you will keep previous lectures' text chat intact, also students are less likely to click the wrong link.
- However, you may prefer that students cant see chats from previous lectures and create a link for each lecture, if you do this, ensure they are clearly labelled.
Creating a Lecture link in Moodle
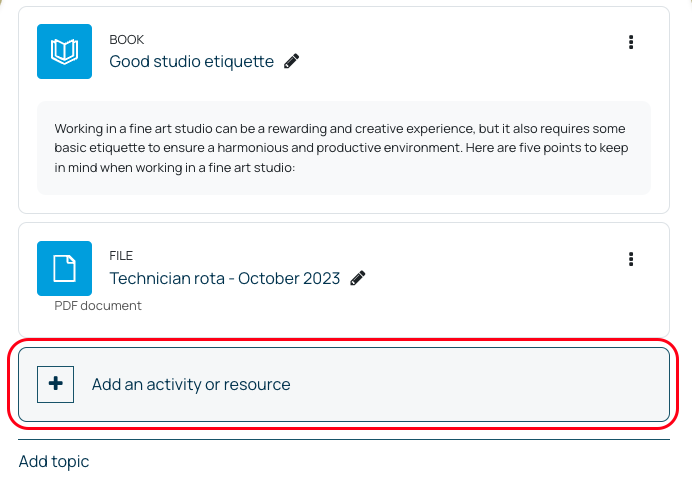
1. On your Moodle page, with Edit mode enabled, click Add an activity or resource in the topic you wish the link to appear. If you are just creating one, then put it in the top section so students can find it easily.
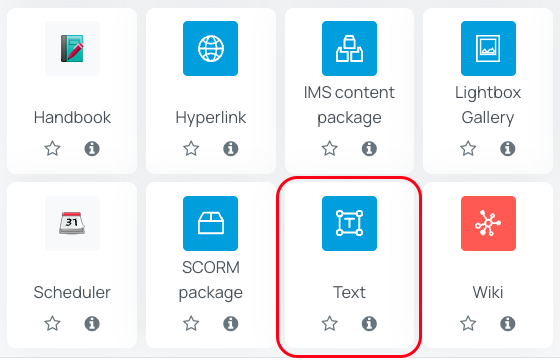
2. Select Text from the options
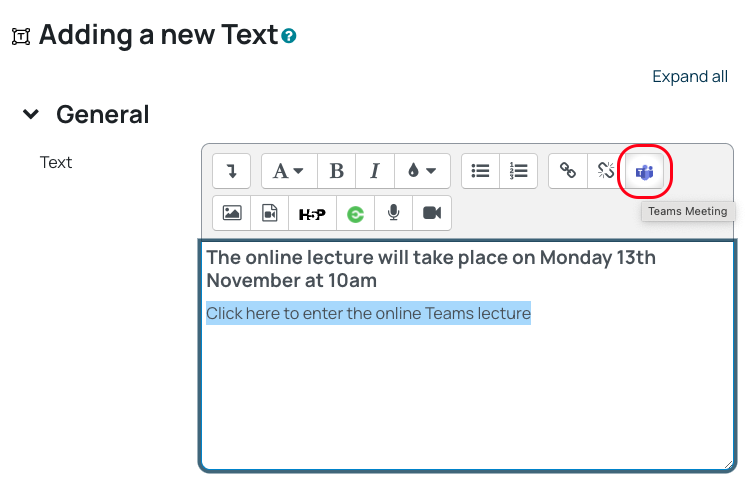
3. Teams links are created in a similar way to a hyperlink:
3.1 Type in some text, and highlight it to turn it into a link to launch the meeting
3.2 With the text highlighted, click on the Teams Meeting button
4. The Create Teams meeting box will appear. Sign in if you are prompted to do so
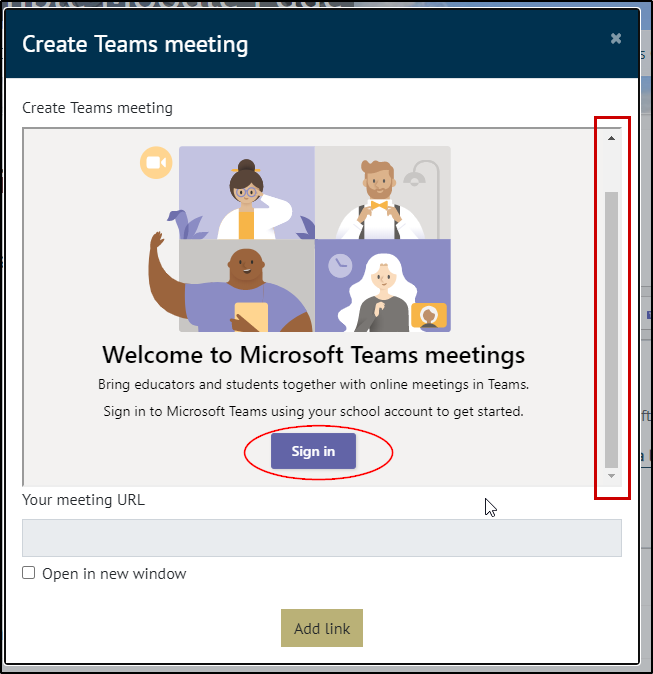
5. Select Create meeting link

6. Add the meeting details: Meeting title (1), time and date (2), Click Create (3), select to Open in new window (4), Add link (5)
