It is possible to add a button in the text editor of Moodle.
First of all type what you want your button to say, then highlight it and click on the hyperlink button

Paste the URL or the link of where you want the button to go
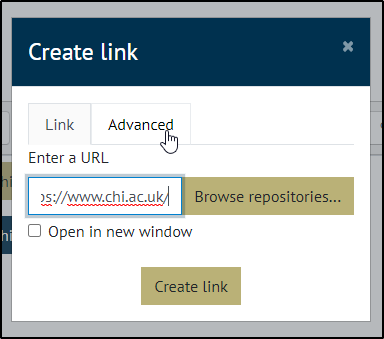
Click on the Advanced Tab
Then in the Enter an ID box type Button
In the Enter a class box type one of the following to set the colour:
- btn btn-default
- btn btn-primary
- btn btn-success
- btn btn-info
- btn btn-warning
- btn btn-danger
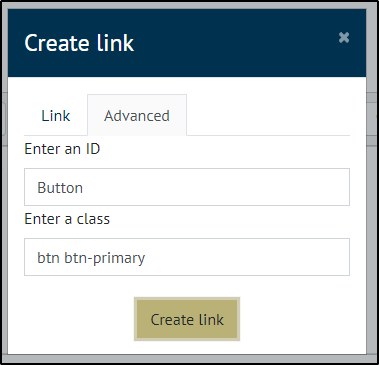
Click Create link
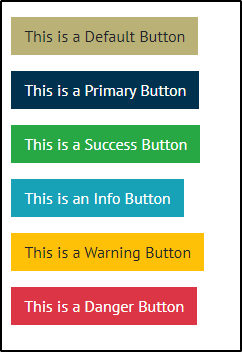
The Image below shows the colours as they appear:
If you have a lot of text in your button and want it to go on another line, hold down the Shift key and press Enter to make the cursor drop to the next line without creating a new paragraph (just pressing enter, will create a new button on a new line)
Advanced options
If you have buttons running down the page, they may be different widths depending on the width of the text. You can add btn-block to the class to make the button the width of the container it sits in so the text in the Class box would look like this:
btn btn-primary btn-block
The result in the topics sections of Moodle is the buttons spread across the page.

The image below shows how buttons can look before and after using btn-block to tidy them up. This example is in the HTML block that can be used to put text into the right hand side bar:
Before:

After:

Remember doing this will make the buttons fit to the size of the box/page/container you have them in. The buttons will automatically resize to the screen that the viewer is using, but will all be the same size as each other.