There are a few different ways of making video recordings but for the moment we recommend using Microsoft Teams as this should be the most familiar to you.
Jump to:
Recording in Microsoft Teams
Whether you're meeting with people online, or if you want to make a long recording by yourself, there are options in Microsoft Teams. All recordings made in Microsoft Teams will appear on your Microsoft Stream Start Page.
Recording an in-class lecture
If you're teaching in the classroom and need to make a recording, you can do this via Microsoft Teams.
- Open up the Microsoft Teams app (this may take a few seconds to appear after you first log onto a class PC)
- Select the Calendar button displayed down the left-hand side

- In the top-right, select Meet now from the options available

- Name the recording and click Start meeting
- This will create a meeting in which you can share your camera, share your screen, and make recordings
- If you're recording anything with music, or classroom discussions, we recommend that you turn Noise suppression off
- By default, Teams will try to filter out background noise and focus on the main speaker. Sometimes this isn't what you want.
- Next to your profile picture, select the "..." button
- Select Settings > Devices and scroll down to Noise suppression. Turn this to Off
- You can record the session by selecting More > Record and transcribe > Start a recording
- When you are finished, select More > Record and transcribe > Stop recording
- By default, this recording will be saved into your Recordings folder in OneDrive, which will only be available to you. You can view the video on your Microsoft Stream Start Page to update the sharing permissions
Recording a scheduled online Teams meeting
- If you're in a Teams meeting with other people, you can record the session by selecting More > Record and transcribe > Start a recording
- When you are finished, select More > Record and transcribe > Stop recording
- The recording will automatically be available to everyone present in the meeting and users will see it listed on their Microsoft Stream Start Page.
- To share with other people, you will have to use the share options in Stream

Recording in Microsoft Stream (limited to 15 minutes)
 Watch the video guide for recording using the Microsoft Stream Web App
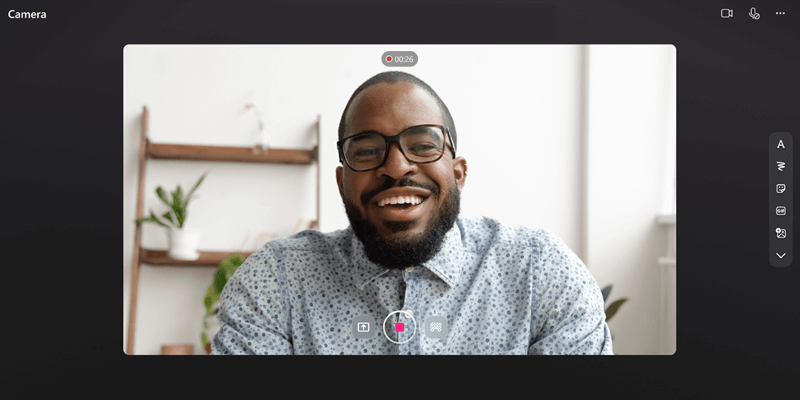
Record your screen, create webcam videos, and add effects directly in Microsoft 365. The Stream screen recorder can be used for explainer videos, product demos, or quick webcam videos without leaving M365. You can add inking, stickers, images, music, text, replace your background, and record multiple clips. Please note that Stream creates .webm files which can be edited in Clipchamp. If you wish to edit in another application, you may need to convert the .webm file to .mp4