The scheduling assistant lets you see when people in the University are available before planning a meeting. It lets you view the attendees’ calendars, indicate where there are conflicts, and suggest times when all of the attendees are free.
The Scheduling Assistant can only be as accurate as the information people have put in their calendar.
Using scheduling assistant to plan a meeting #
1. In Outlook desktop calendar, select New Appointment, then Scheduling Assistant
2. In the All Attendees column on the left you will see your own name. You can search the University’s address book by selecting Add Attendees and using the search box. Once found use the Required or Optional button to add their name. Repeat for each person you want to attend the meeting.
3. When all attendees have been added, select OK
4. You can now see the attendees’ availability. Unless you clicked on the date you want the meeting to be, it will default to the time nearest to the current time. Choose the time (and date) for the meeting by selecting one of the suggested times (in the right side column), using the start and end time dropdown menus, or sliding the highlighted bars
5. When you have made your selections, click the Appointment button. The date and time will be displayed as Start time and End time. Add the Subject and Location information.
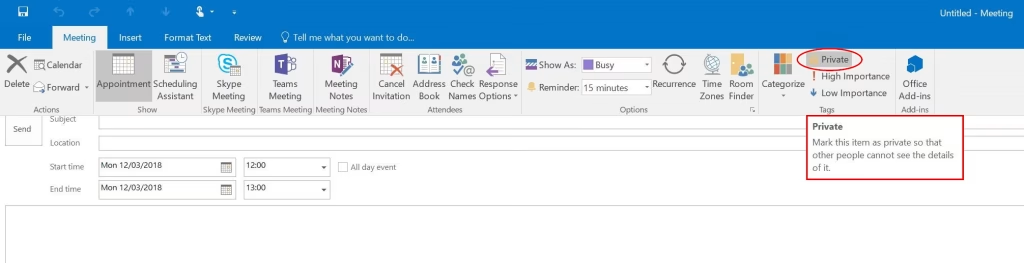
6. Privacy: it is important to consider who has access to view the detail of your calendar to ensure you are not sharing personal data more widely than is necessary. It may be appropriate to make a specific appointment private, which will hide the details of the appointment but still show the space in your calendar as busy. This can be done by selecting the private button on the Appointment tab
7. Once complete, click Send and the invitation will be send to the attendees’ calendars.
The attendee can choose to accept, tentatively accept, or decline the meeting invite. They can also tentatively accept but propose a new time, or decline the meeting and suggest a new time. With either of these options the scheduling assistant will appear for them to find a new time / date. The originator of the meeting will receive the request and can accept or decline it.