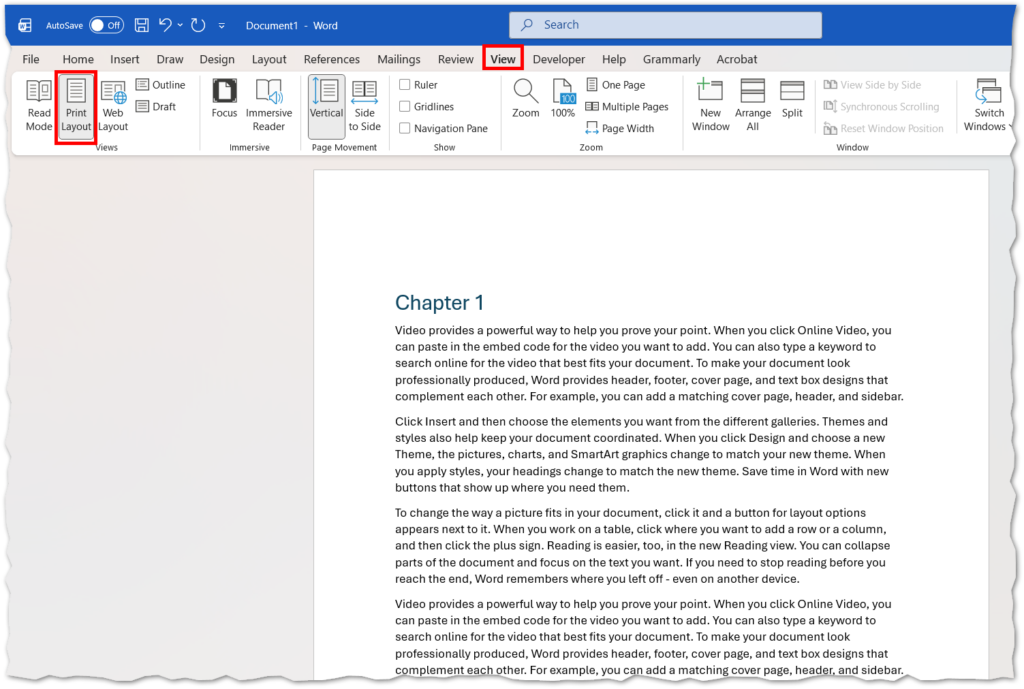
Picture: Print Layout
Picture: Web Layout

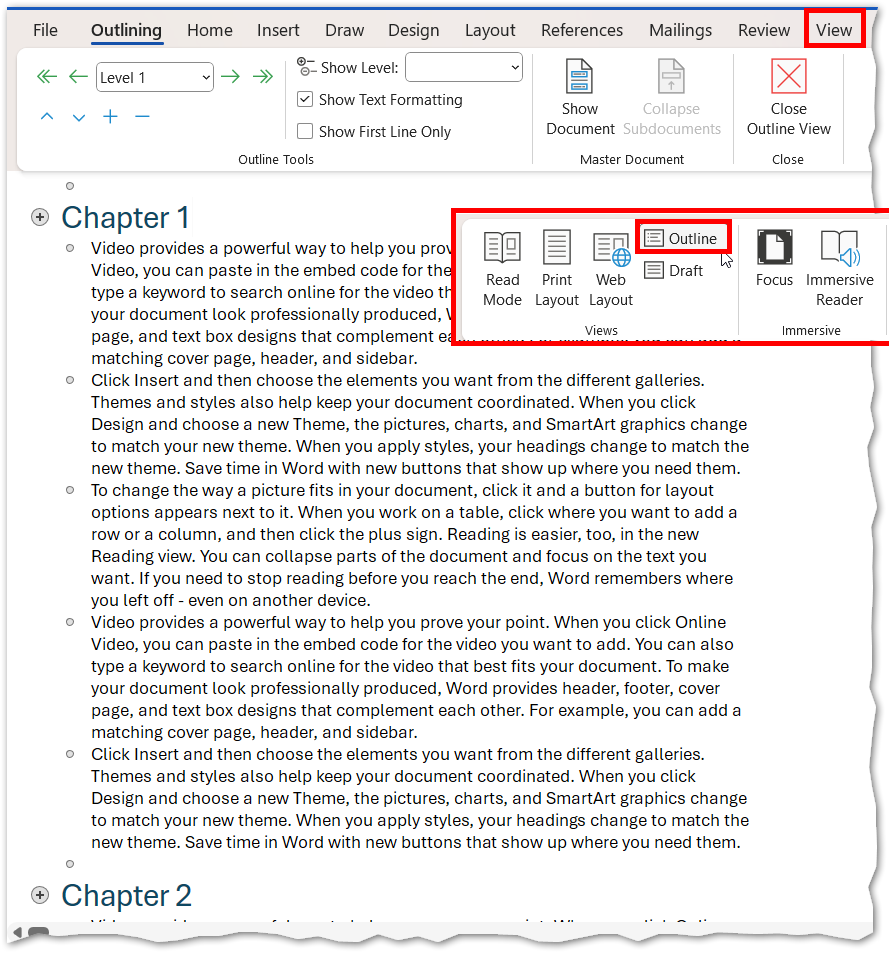
Picture: Outline View
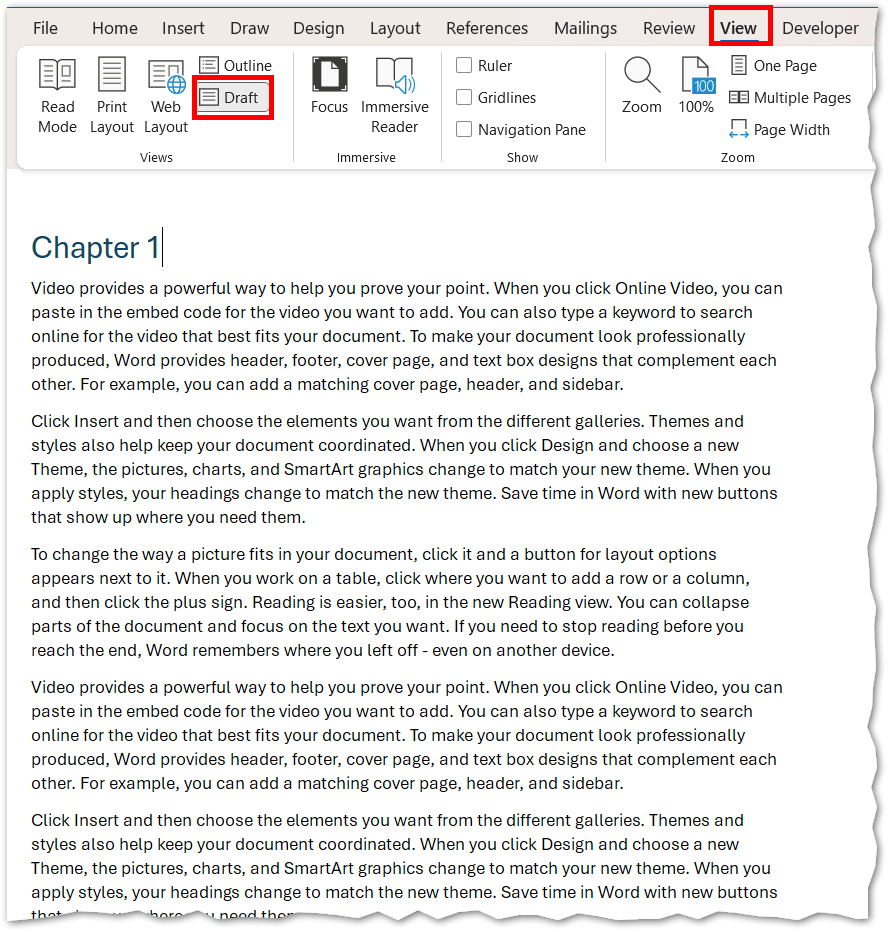
Picture: Draft View
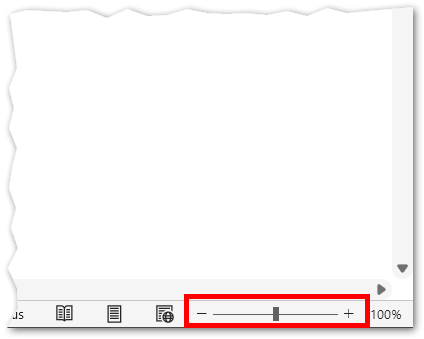
Picture: Zoom
Picture: Multiple Pages
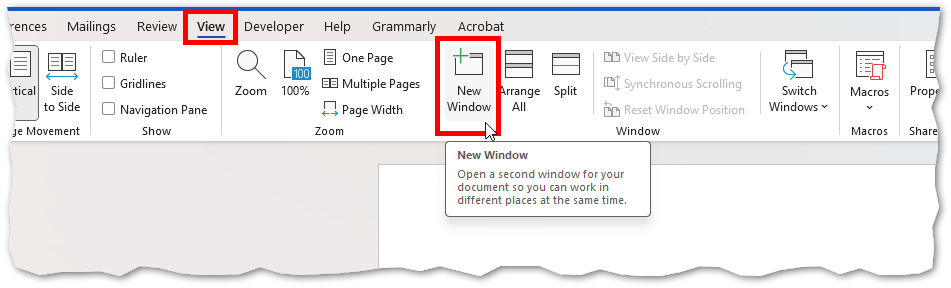
Picture: New Window
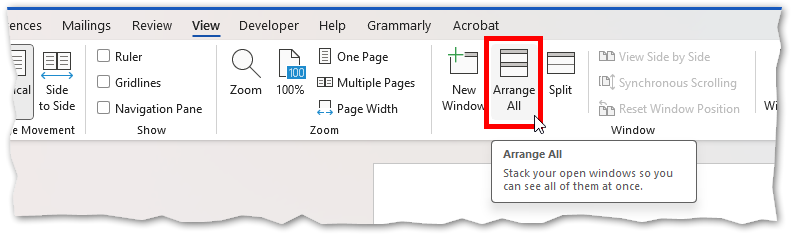
Picture: Arrange all