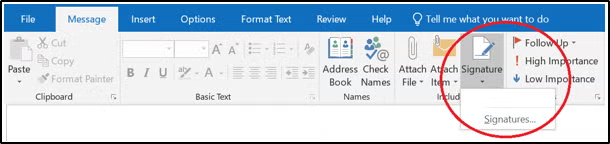
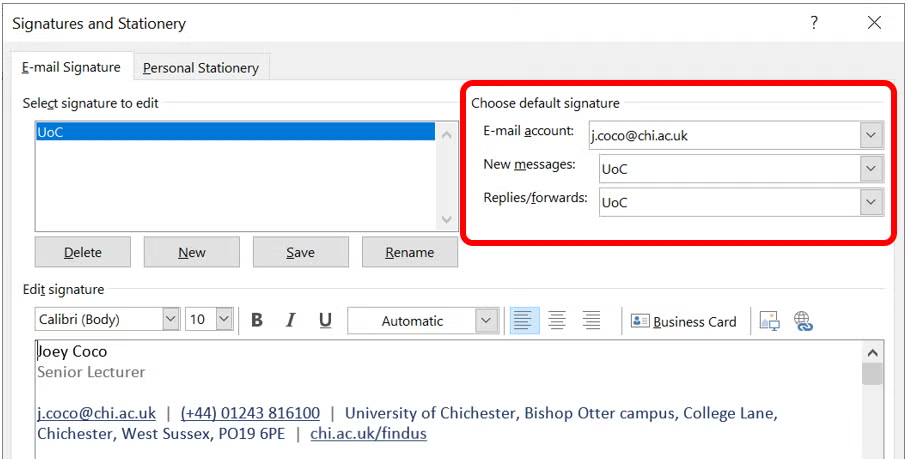
Outlook Classic (Desktop application)
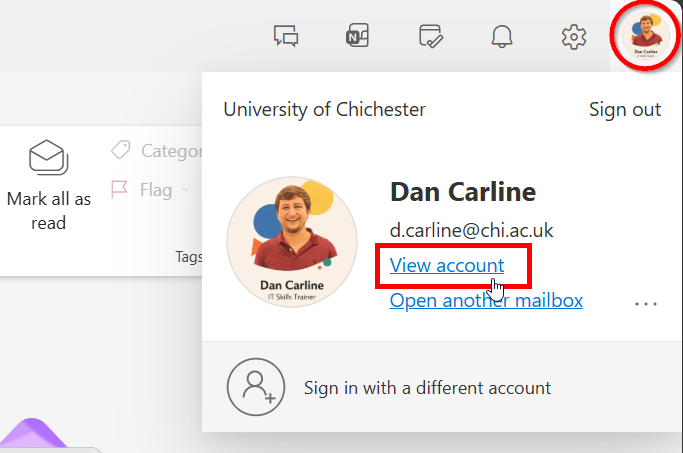
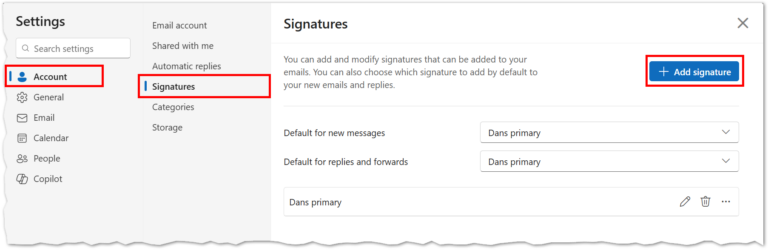
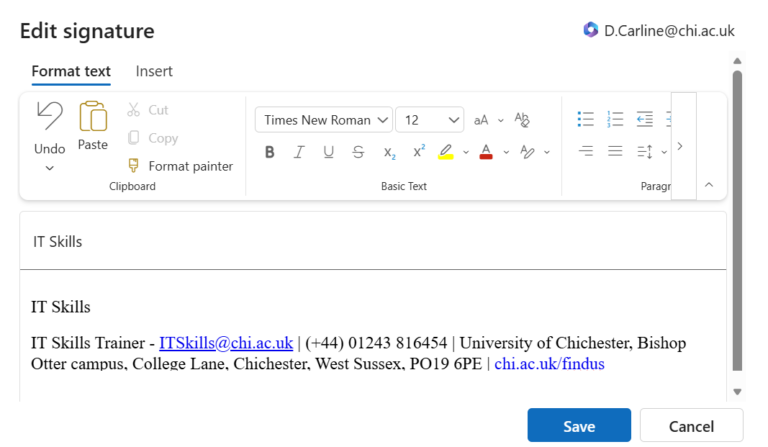
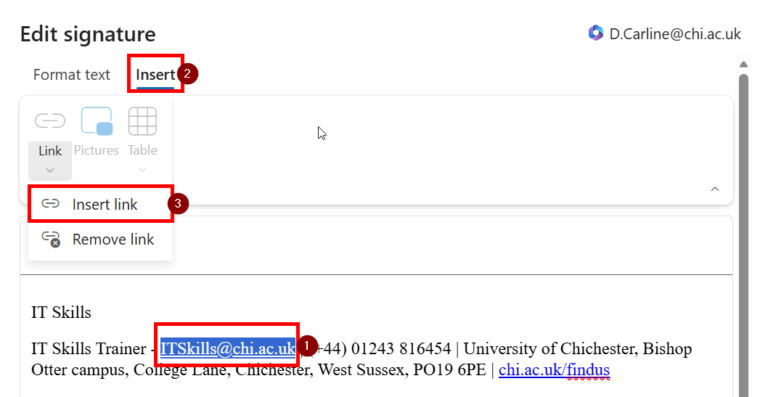
Outlook Web (Web browser)

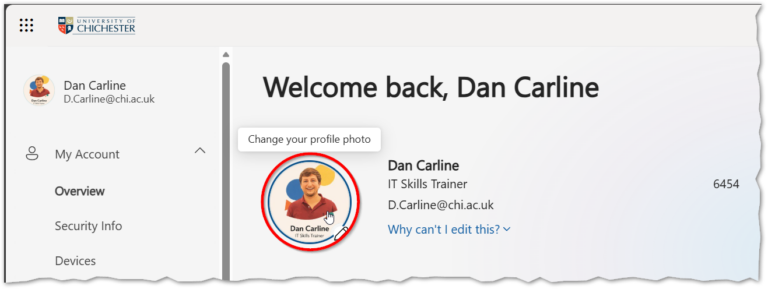
Setting up your staff photo for email, Office applications and Teams