Working with Tables in Excel #
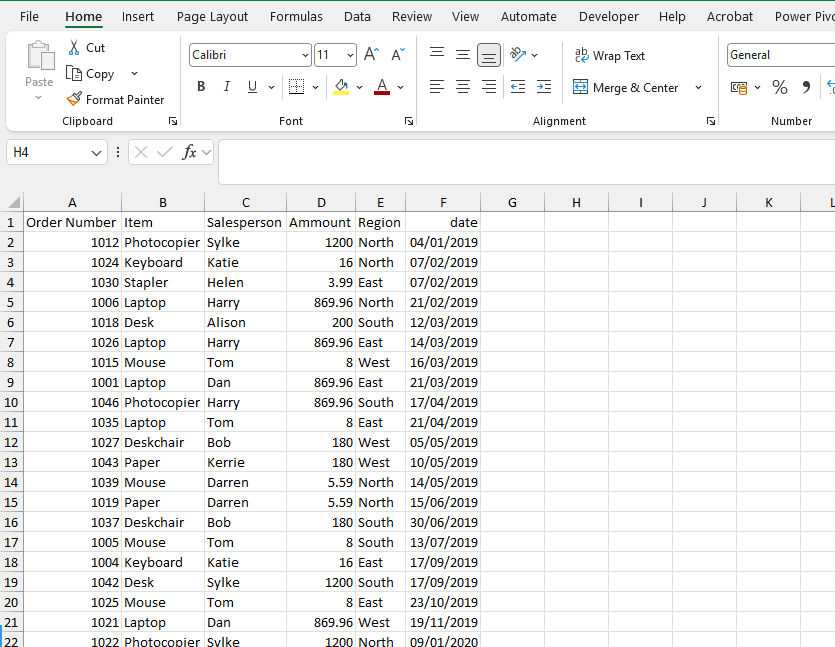
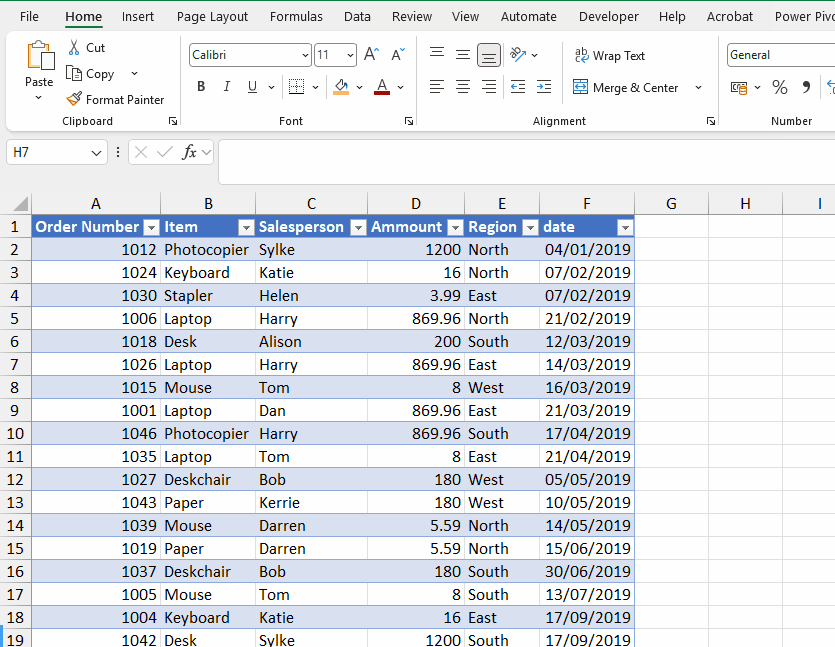
Tables in Excel make it easier to manage and analyse data. They provide built-in features like sorting, filtering, and automatic formatting, which help keep your data organized and consistent.
Creating a Table #
- Select the range of cells containing your data.
- Go to the Insert tab and click Table, Or press Ctrl + T
- Confirm the range and whether your table has headers
(The range refers to the block of cells that the table covers)
(A header is the top row that contains the titles or labels for each column). - Click OK – your data is now formatted as a table.
Picture
Sorting #
When you sort a table:
- Rows move together as a whole
(Data stays intact — names stay with their emails, prices stay with their products.) - You can sort A to Z, Z to A, smallest to largest, largest to smallest
How to sort a table A → Z (alphabetical or smallest → largest)
- Click the dropdown arrow in the header of the column you want to sort.
- Choose Sort A to Z.
Picture
Benefits of Using Tables #
- Automatic Formatting: Excel applies a consistent style to your table.
- Sorting and Filtering: Each column gets a drop-down menu for quick sorting and filtering.
- Dynamic Range: Tables automatically expand when you add new rows or columns.
- Structured References: Formulas can use column names instead of cell references, making them easier to read.
Customizing Your Table #
- Use the Table Design tab to:
- Change the table style.
- Add or remove header rows, total rows, and banded rows.
- Rename the table for easier reference in formulas.
Converting Back to a Range #
If you no longer need table functionality:
- Select the table.
- Go to Table Design → Convert to Range.