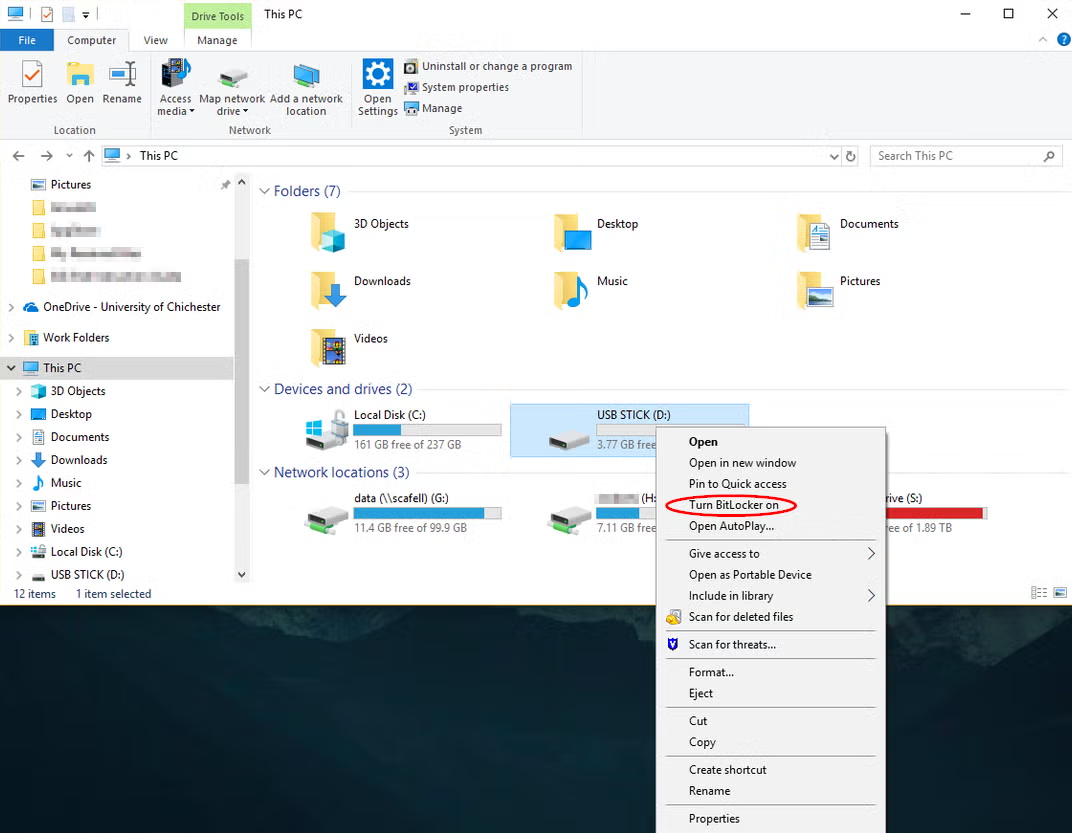
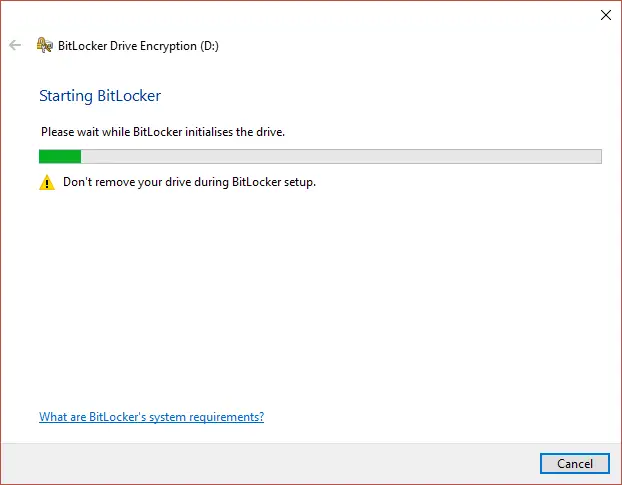
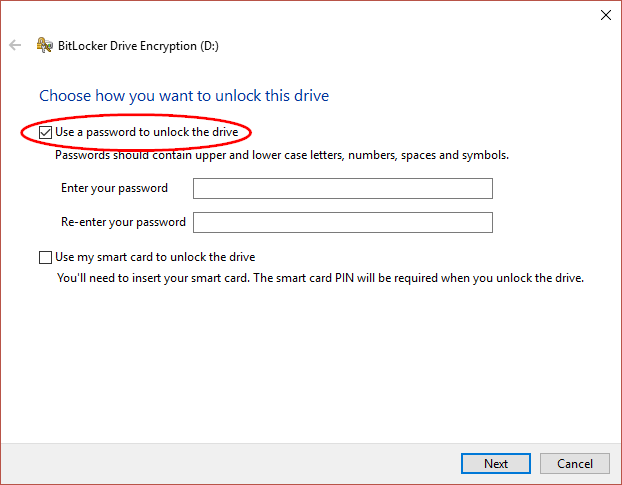
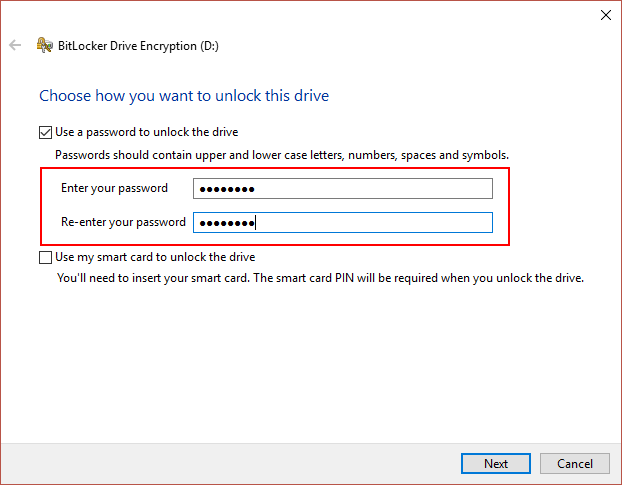
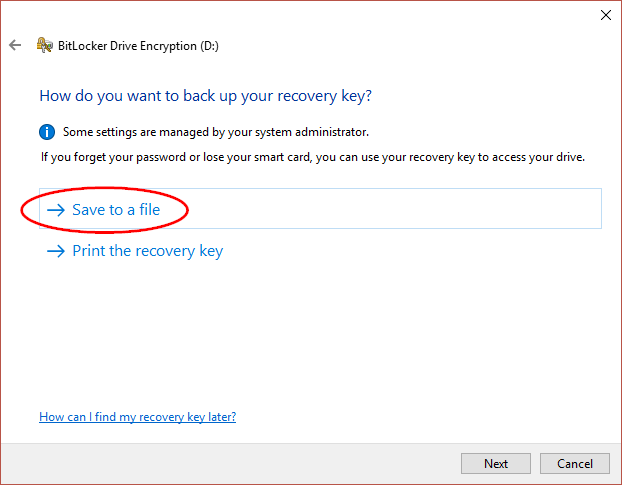
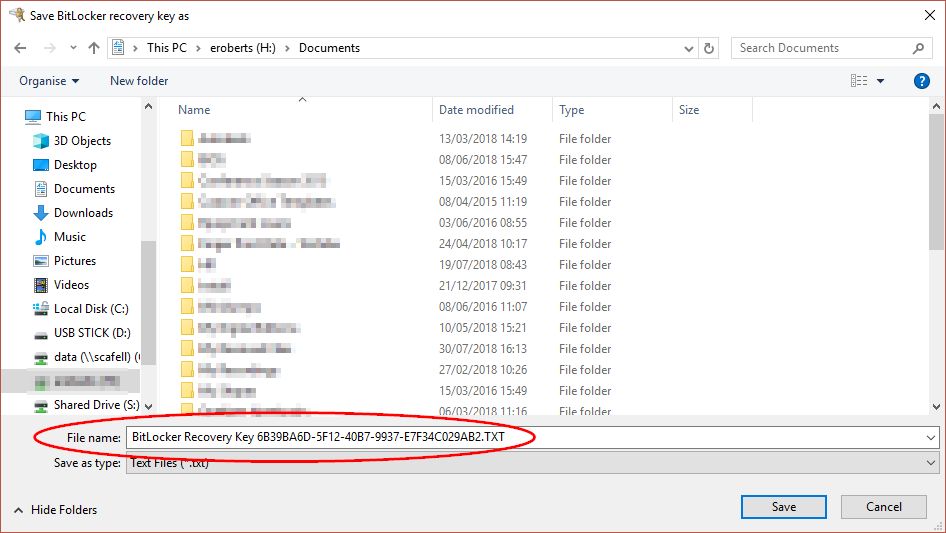
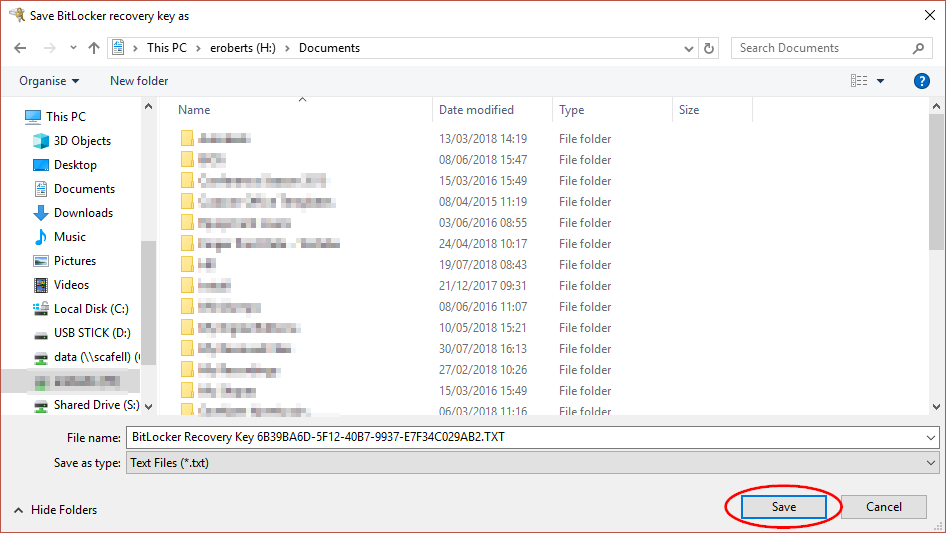
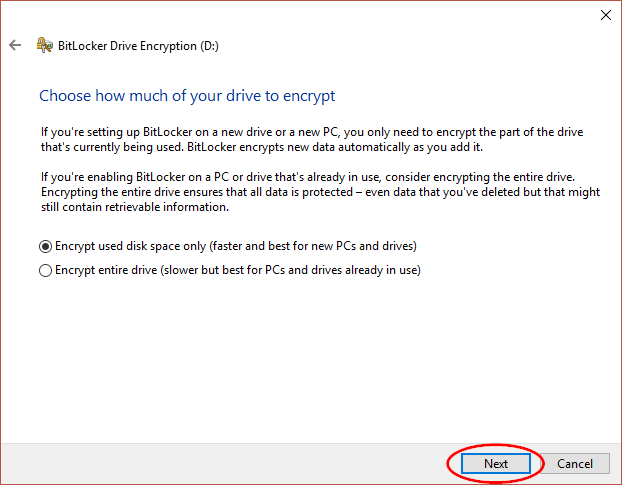
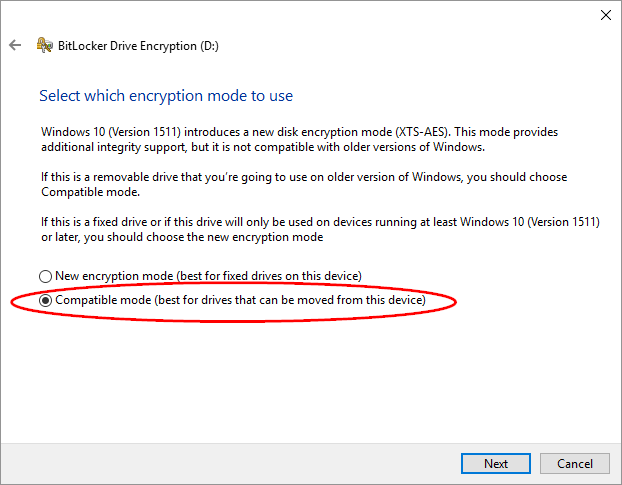
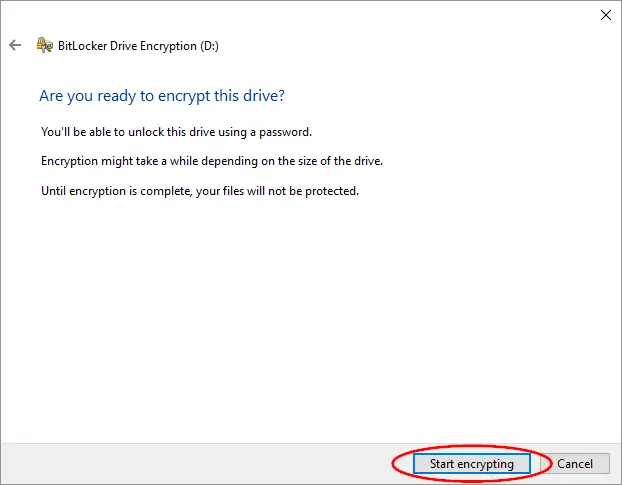
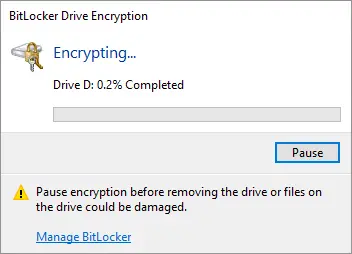
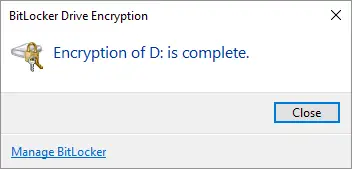
Encrypting the device
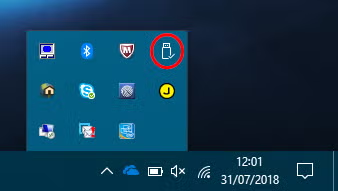
Ejecting the device
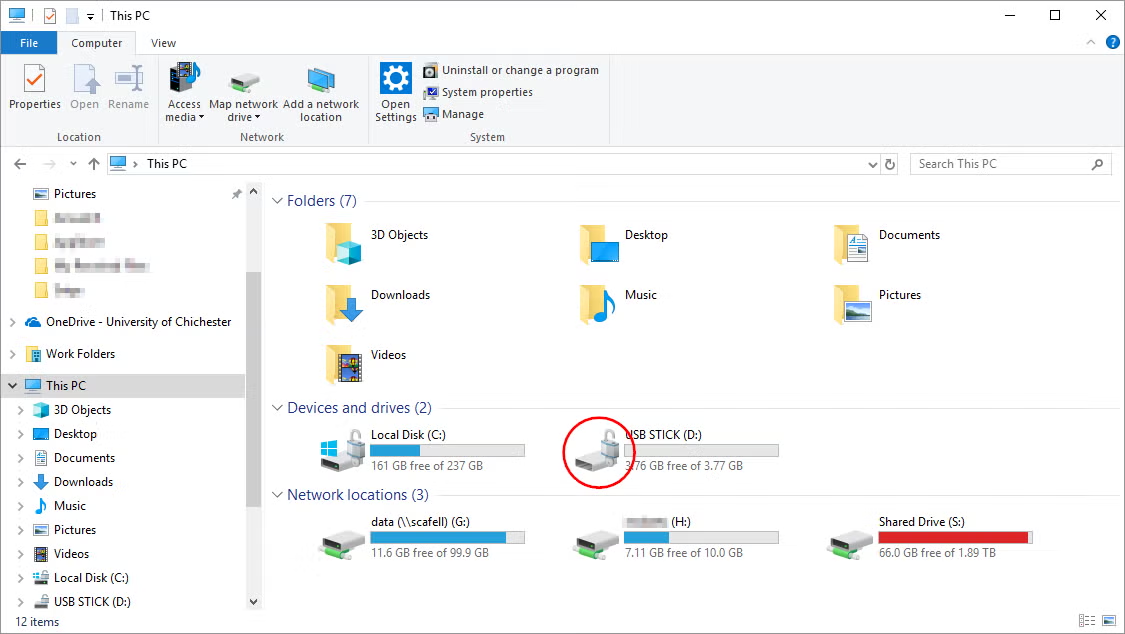
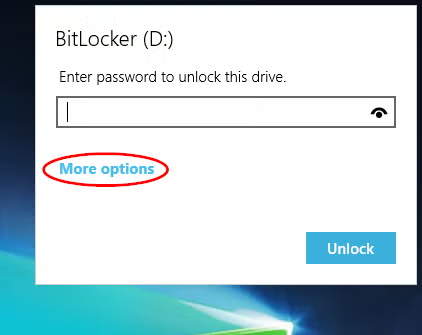
Using an encrypted device
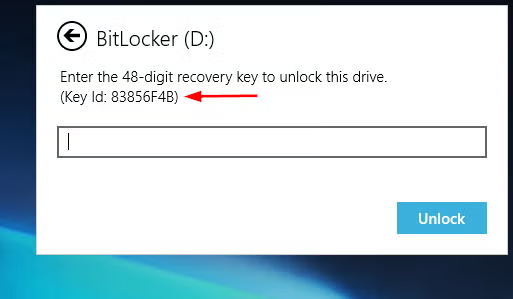
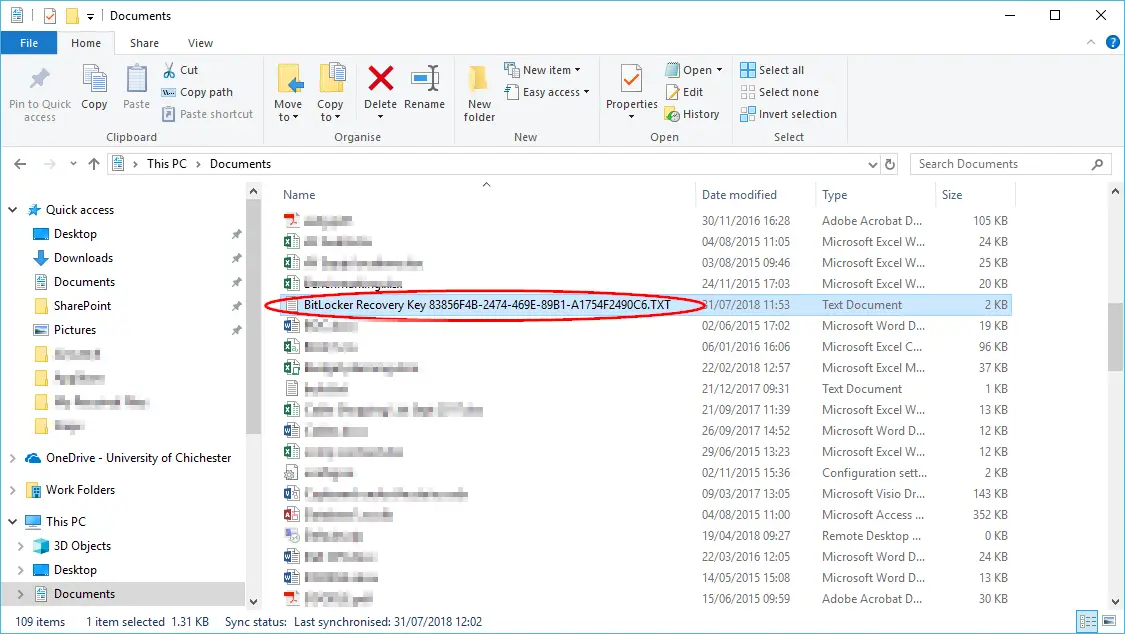
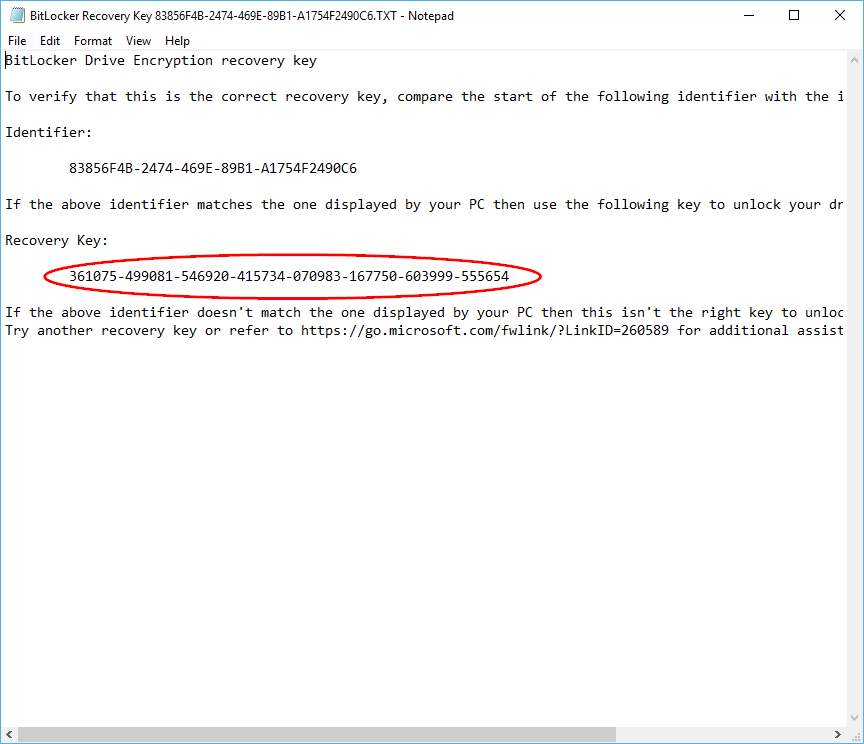
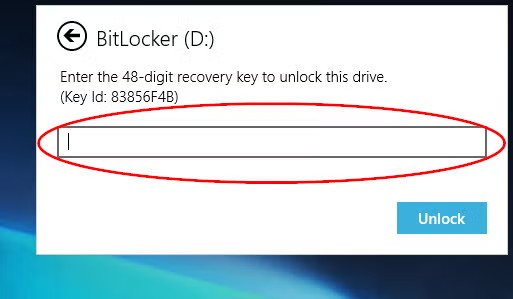
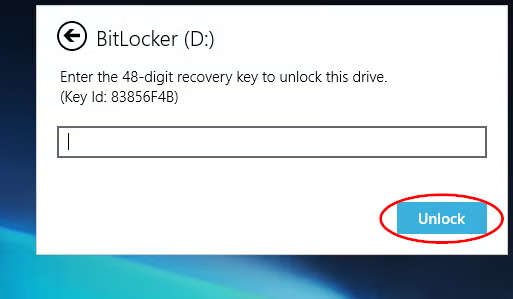
What to do if you have forgotten your password

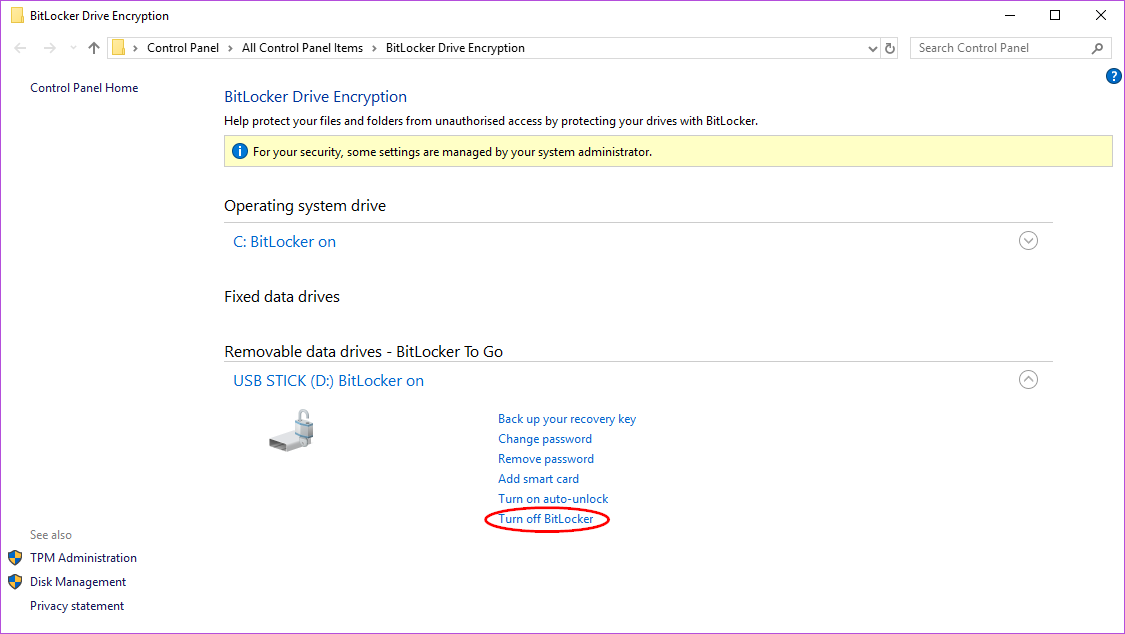
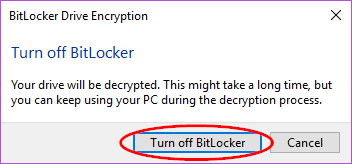
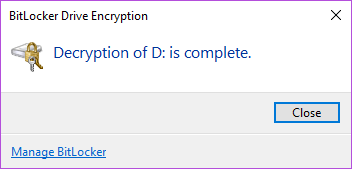
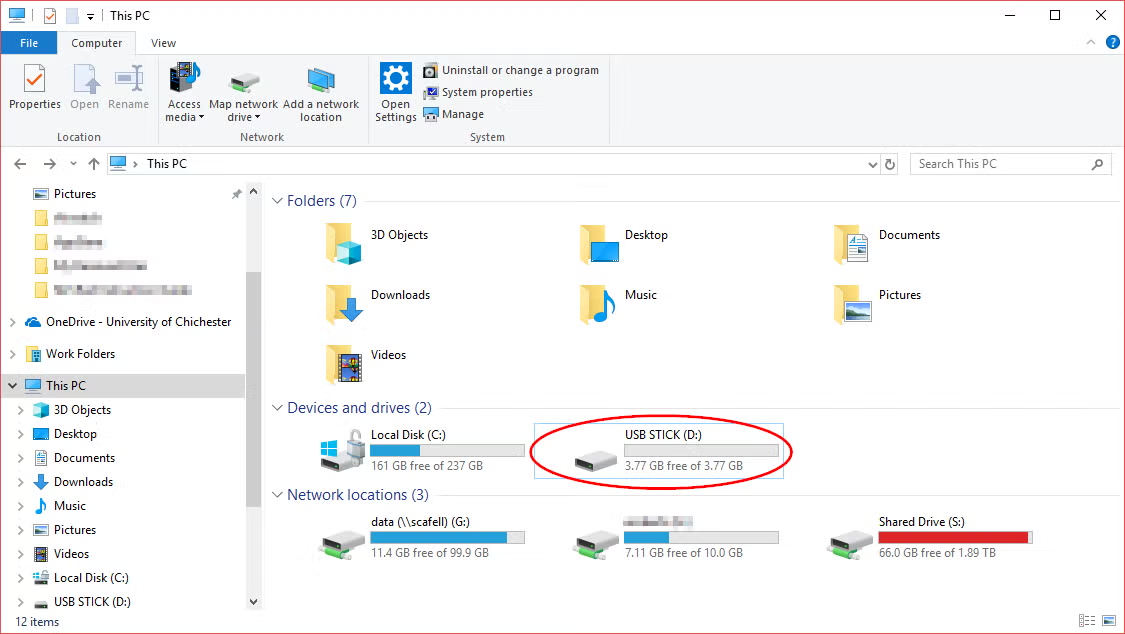
Removing encryption from your device