Microsoft Office documents (Word, PowerPoint and Excel) can become large, especially when they contain images. Text takes up very little space, so images are usually the main cause of large file sizes. Rather than removing images, you can compress them to reduce the overall size of your file without noticeably affecting quality. If a document contains cropped images, you can also remove the cropped‑out areas to save additional space.
How to Compress Images in Word, Excel or PowerPoint
- Select any image in your document.
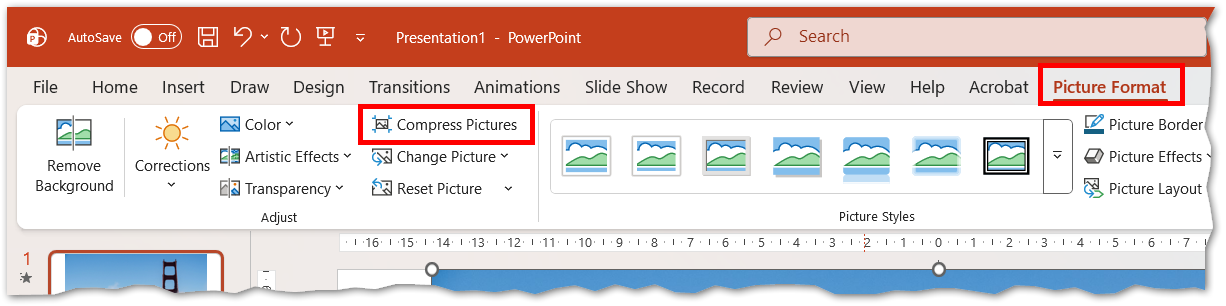
You’ll know it’s selected when white resize handles appear around it. - In the Menu Ribbon, go to the Picture Tools tab.
This tab appears only when an image is selected. - Select Compress Pictures to open the compression menu.
- Choose whether to apply compression to all images.
- Leave Apply only to this picture unchecked to compress every image.
- Check it only if you want to compress a single image.
- (Optional) Tick Delete cropped areas of pictures.
This permanently removes cropped‑out sections but cannot be undone later, so only use it when you’re finished editing. - Select a target output resolution.
High‑resolution images that do not fill the page/slide can often be reduced without visible quality loss.
Picture
Tips for Best Results
- Compress images after completing layout and formatting.
- Use higher resolutions only when image clarity is essential.
- For sharing by email or uploading online, lower resolutions usually provide the best balance of size and clarity.
- Share a file via OneDrive to avoid file size upload limits on email (20mb)