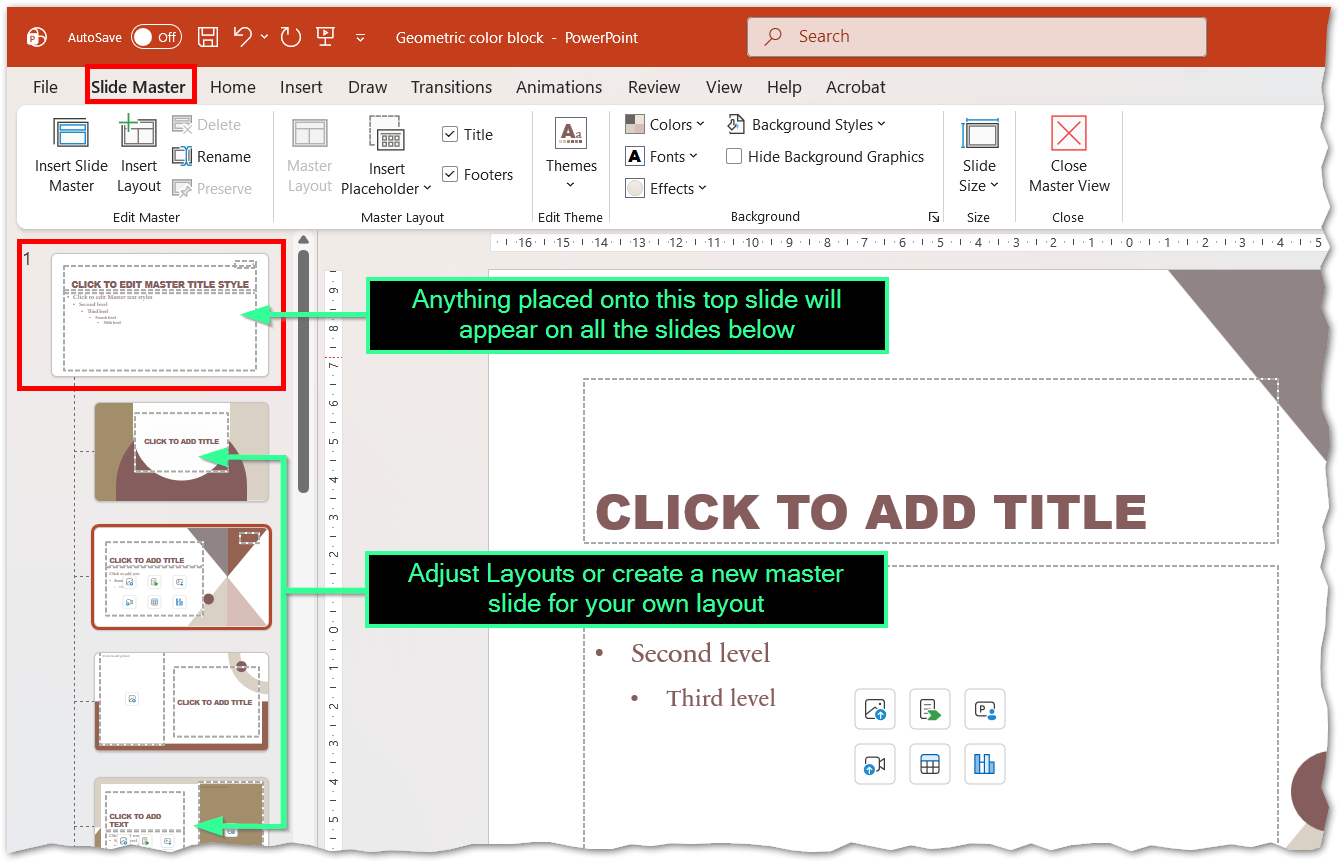
The Slide Master controls the overall design and layout of your presentation. It allows you to make global changes—such as fonts, colors, backgrounds, and placeholders—that apply to all slides or specific layouts. Using Slide Master ensures consistency, saves time, and helps maintain a professional look throughout your presentation.
!!Warning!!Do not accidentally create your regular slides whilst in Slide Master view, select 'Close Master View' to return to normal editing of your presentation slides.
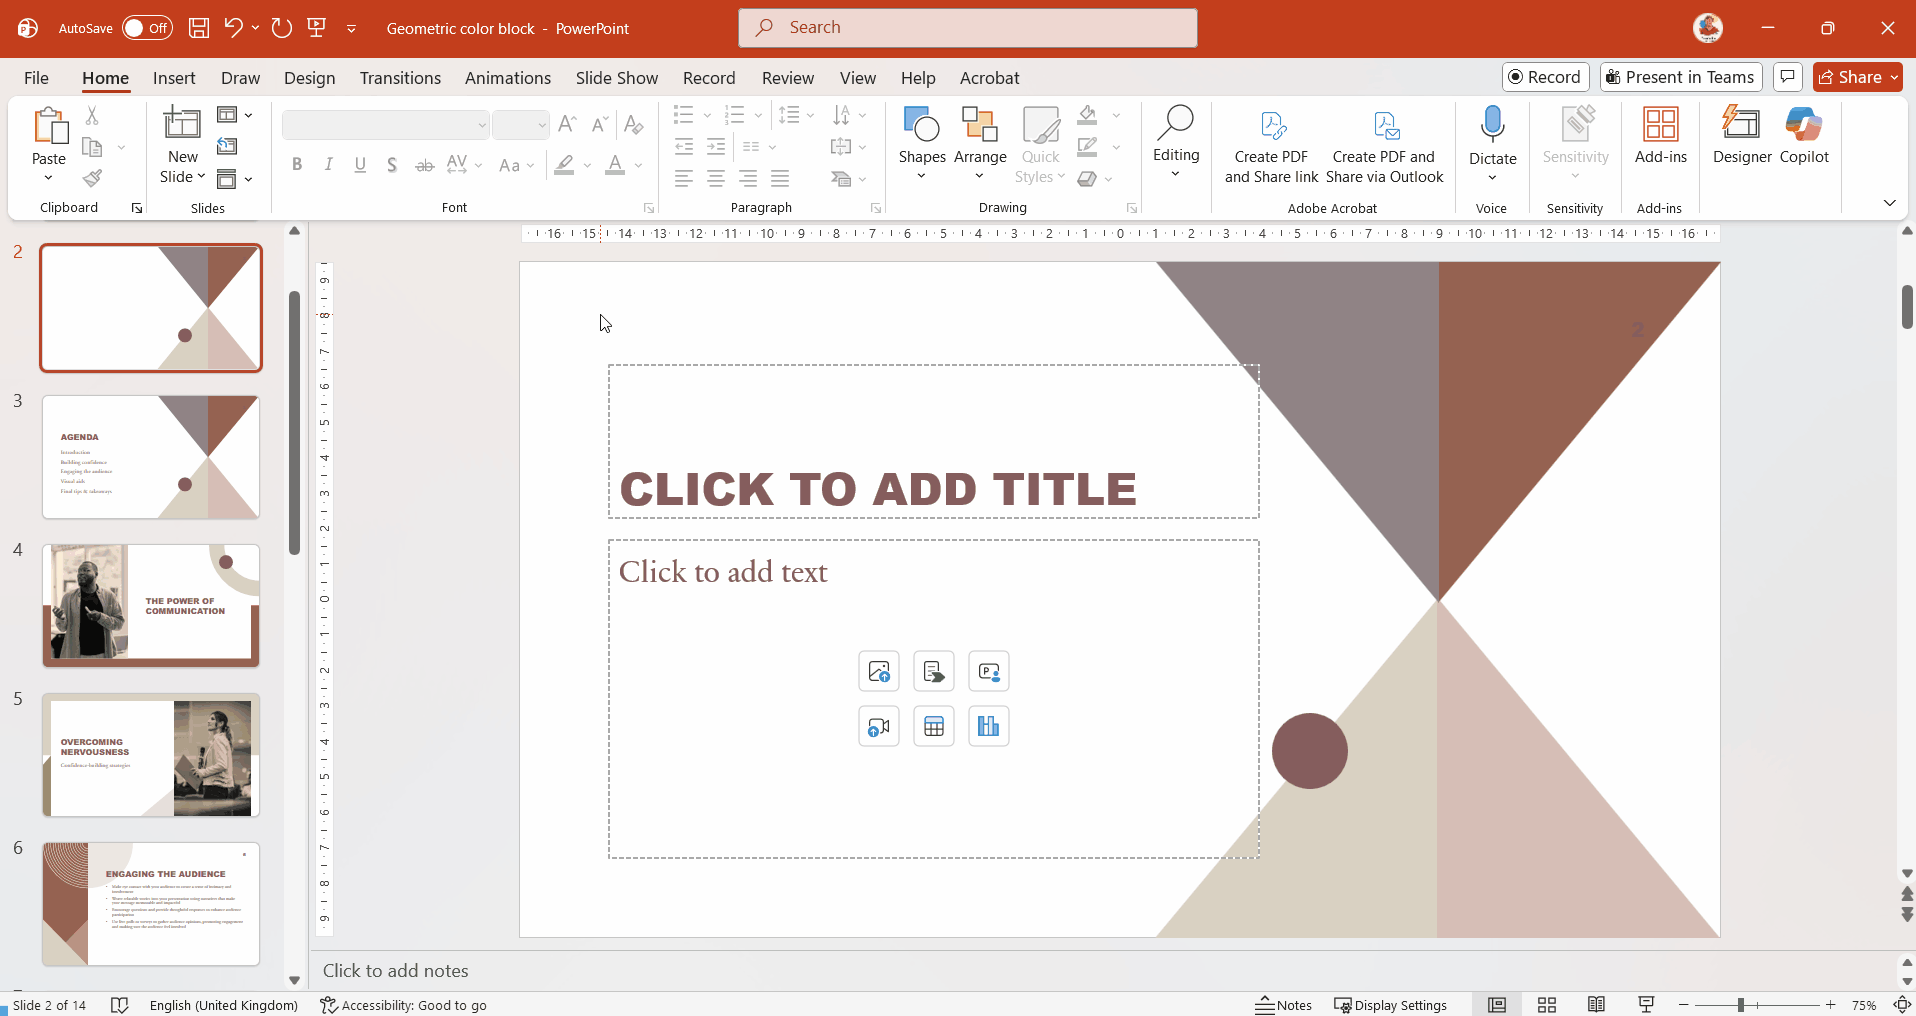
1. Accessing Slide Master
Open your presentation in PowerPoint.
Go to the View tab on the Ribbon.
In the Master Views group, click Slide Master.
The Slide Master view will open, showing the main master slide at the top and all associated layouts below.
Picture
2. Customizing the Master Slide
Select the top slide (the Master Slide).
Apply changes that should affect the entire presentation, such as:
Background color or image
Font styles and sizes
Logo or branding elements
These changes will automatically apply to all layouts and slides based on this master.
Picture
3. Editing Individual Layouts
In the Slide Master view, select a specific layout (e.g., Title Slide, Title and Content).
Adjust placeholders, text alignment, or design elements for that layout.
Close the Slide Master view by clicking Close Master View in the Ribbon.
4. Applying Layouts to Slides
Go to the Home tab.
In the Slides group, click Layout.
Choose the layout you customized in Slide Master to apply it to your slide.
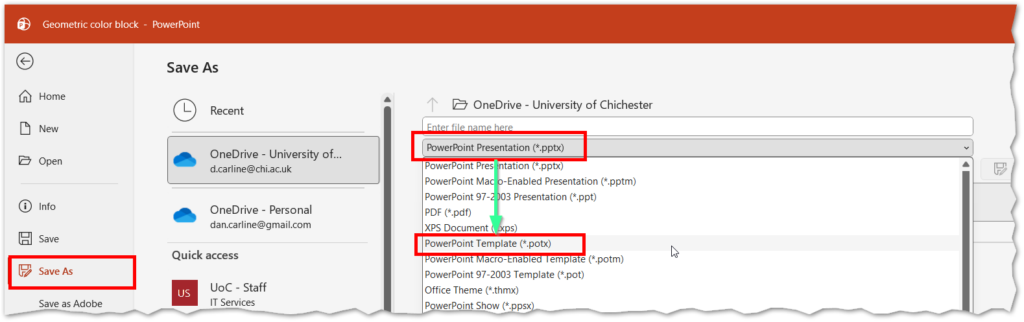
5. Creating a Custom Template
After customizing your Slide Master and layouts, go to File → Save As.
Choose PowerPoint Template (*.potx) as the file type.