Microsoft Teams is designed for team communication and collaboration, combining chat, audio/video calling, file storage, and apps. You can use Microsoft Teams either from the Teams App or by using the Teams web version.
You will get the best user experience by using the Teams Desktop App this is installed on all university computers.
Teams can be used for:
- Voice calling (replacing University phones)
- Video calling
- Screen sharing
- Instant messaging (chat)
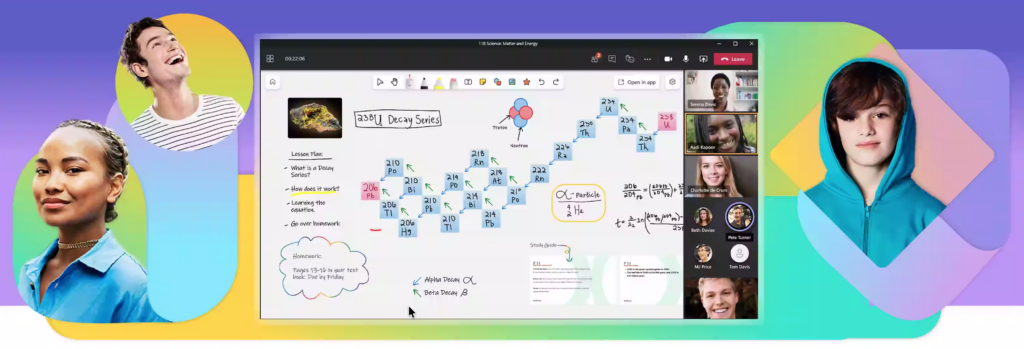
- Online meetings or lectures
You can also set up your own team sites, which are great for when collaborating on projects or just keeping in touch with your departments.
Basic functionality #
Accessing or downloading Teams
Accessing or Downloading teams #
You can use Microsoft Teams either from one of the Teams Apps (available on mobile and desktops) or by using it in the browser (supported in Edge and Chrome).
You will get the best user experience by using the Desktop App, this is installed on all university computers.
How to download Microsoft Teams on a personal device #
You can download Teams to use on your personal Windows, MacOS, iOS and Android devices
- To download your required version, please see download Microsoft Teams help page from Microsoft
Signing in
- Once you have downloaded the app, select Sign in and type in your university email address
- You will then be prompted with your university username and password.
If you require a password reset, please phone the SIZ on (+44) 01243 816222
Using Microsoft Teams in the browser #
You can use Microsoft Teams in Google Chrome and Microsoft Edge. Video is limited to a single incoming video feed of the active speaker. To see multiple attendees at once, please download the Teams app as shown above.
From your University online email you can click on the waffle in the top-left and choose Teams
Or
- Navigate to Microsoft Teams online
- Type in your University email address
- When prompted, add your University username and password in the welcome window
If you require a password reset, please phone the SIZ on (+44) 01243 816222
Using Chat
Using Chat #
Chat is at the centre of everything you do in Microsoft Teams. From individual chats with just one other person, to group chats and conversations in channels—chat has you covered.
One-on-one chat
At the top of your list of chats and channels, select New message
Type the person’s name and compose your message in the text box.
Select Send
Group chat
Use a group chat when you need to talk to a small group of people. Start one the same way you start a one-on-one chat.
Select New message at the top of your list of chats and channels.
Type a name for the chat group in the Group name box.
Type the names of the people you’d like to add in the To box.
Once the chat has begun, choose it from the chat list to resume the conversation and send more messages.
Chat with yourself
For times when you want to draft messages, send files from one device to another, or get to know features a little better, you can start a chat with yourself. Everything you do in a regular chat you can also do in a chat with yourself.
To start a chat with yourself, select New message
Drag it to the top of the Favorites list, if you want.
Using Telephony (staff)
Using Telephony #
University staff are able to use Microsoft Teams to make and receive telephone calls, both internally and externally. There is also an inbuild visual voicemail service.
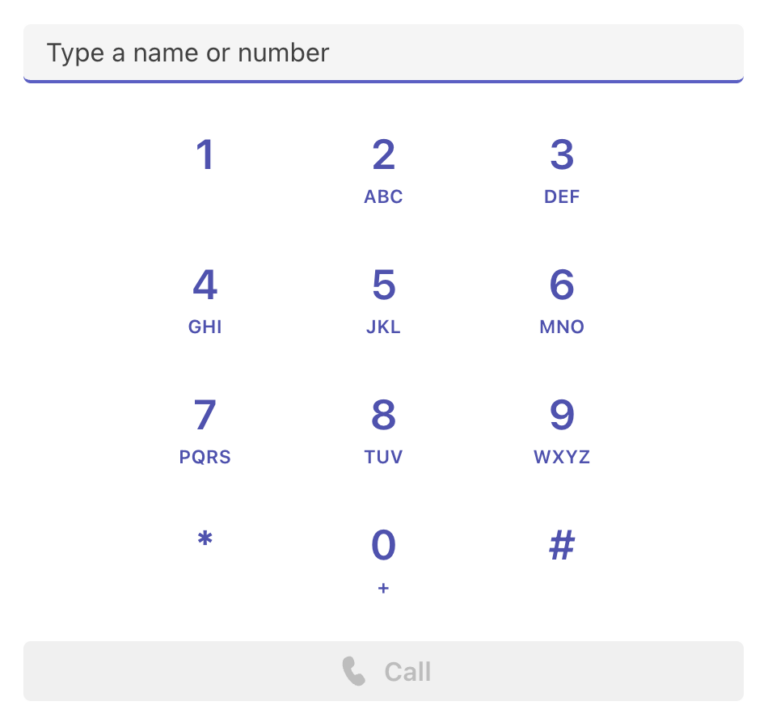
Making calls
On the left of your screen, select Calls
You can then use the dial pad to call any number. All calls will be charged as if you’re calling from Chichester no matter where in the world you physically are.

Changing voicemail settings
If you are a staff member you will be able to change your voicemail preferences within the Teams app. You will be able to change if your number simultaneously ‘also rings’ another group or individual or what happens when a call is unanswered and the length of time before the voicemail starts. You will also be able to change your voicemail greeting as well.
Accessing the voicemail settings
To access settings, click the ‘…’ menu in the menu ribbon, next to the maximise, minimise and close button and select settings:
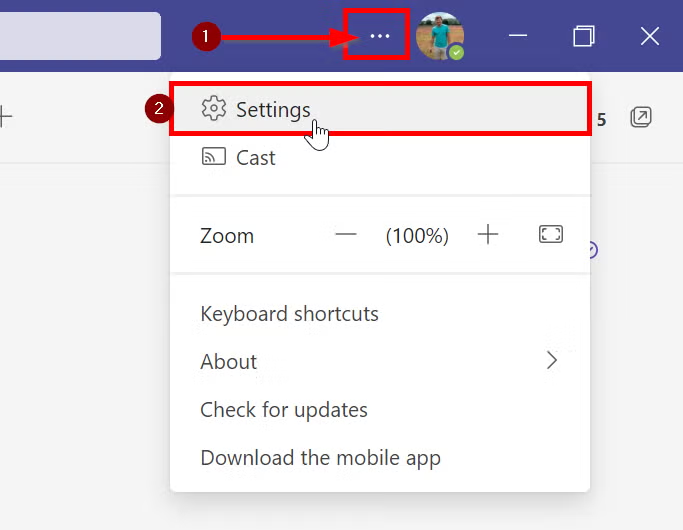
In the settings menu, select ‘Calls’ on the left hand side:
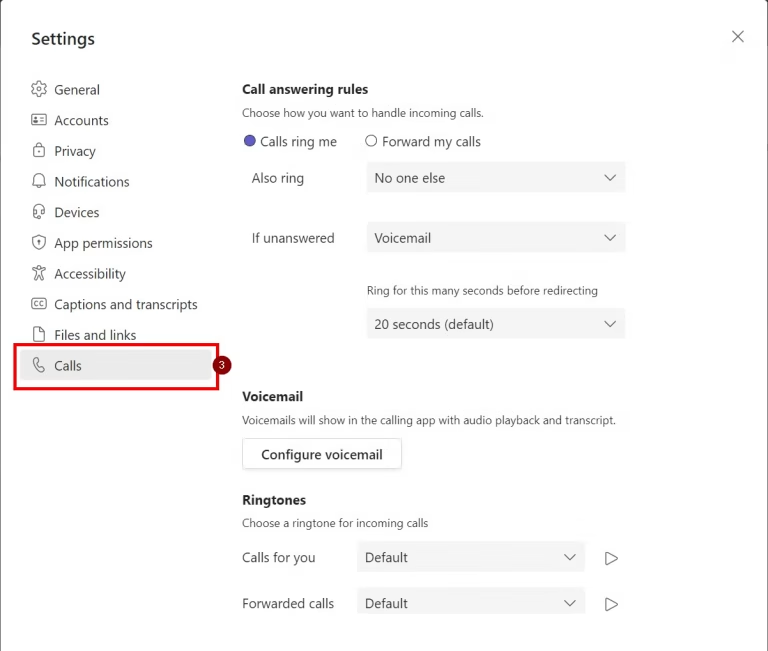
Also ring will allow you to choose from a number of options. When you receive a call, would you like to ‘also ring’:
- New number or contact
- No-one else (default)
- Call group
- Telephone number
- Your manager
If unanswered will allow you to change what happens when your teams call goes unanswered:
- voicemail (default)
- Forward to new number or contact
- Do nothing
- forward to call group
- Forward to telephone number
- Forward to your manager
To change your voicemail greeting, scroll down the Calls menu in the teams settings, until you see Configure Voicemail.
Once in this menu you can select the Record a greeting button to open a call to the voicemail channel.
This will open a call with the voicemail voice prompts. You can use the keypad to select 2 on the dial-pad in order to select listen to or change your voicemail message. Listen to the voice prompts and press the appropriate numbers until you are happy with your result. you can end the call or hang up to finish.
Call answer rules
This menu will allow you to change what happens when your voicemail is reached:
- Let the recorder make a message (default)
- Let the recorder make a message or be transferred to someone else
- End the call without playing your greeting
- Play your greeting and end the call
- Transfer the call to someone else
Greeting Language
The default language is English (United States) which can be changed to English (United Kingdom):
Text to speech Customised greeting option
If you would prefer to use a text to speech robot voice to generate your greeting you can click into the fields available at the bottom of the voicemail settings window:
Video calling
Starting a video call
- Select the Calls icon
- Type in the persons’ name in the Type a name or number box
- Select the Call button. This will start a voice call
- Select the Camera icon at the top to turn it into a video call
When in a chat
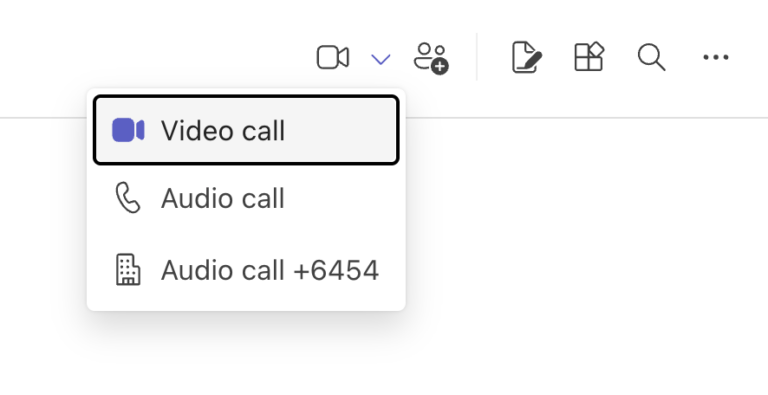
You can start a video call when in a Chat with someone. In the top-right of the page, select the camera icon and choose Video call
Video call settings

Chat
- Open the meeting chat to send text messages, images and files to others in the call
People
- View a list of all participants in the call
Raise
- Raise your hand to let people know you wish to speak
React
- Create a visual emoji-style reaction
View
- Change how the video call looks to you. This does not affect how others see the call.
Controls
- If you are the meeting organiser, you can change permissions for attendees
Rooms
- Create and manage breakout rooms
Copilot
- If you have permission, you can use Copilot to create a transcript of the meeting, with which to ask questions and analyse
Apps
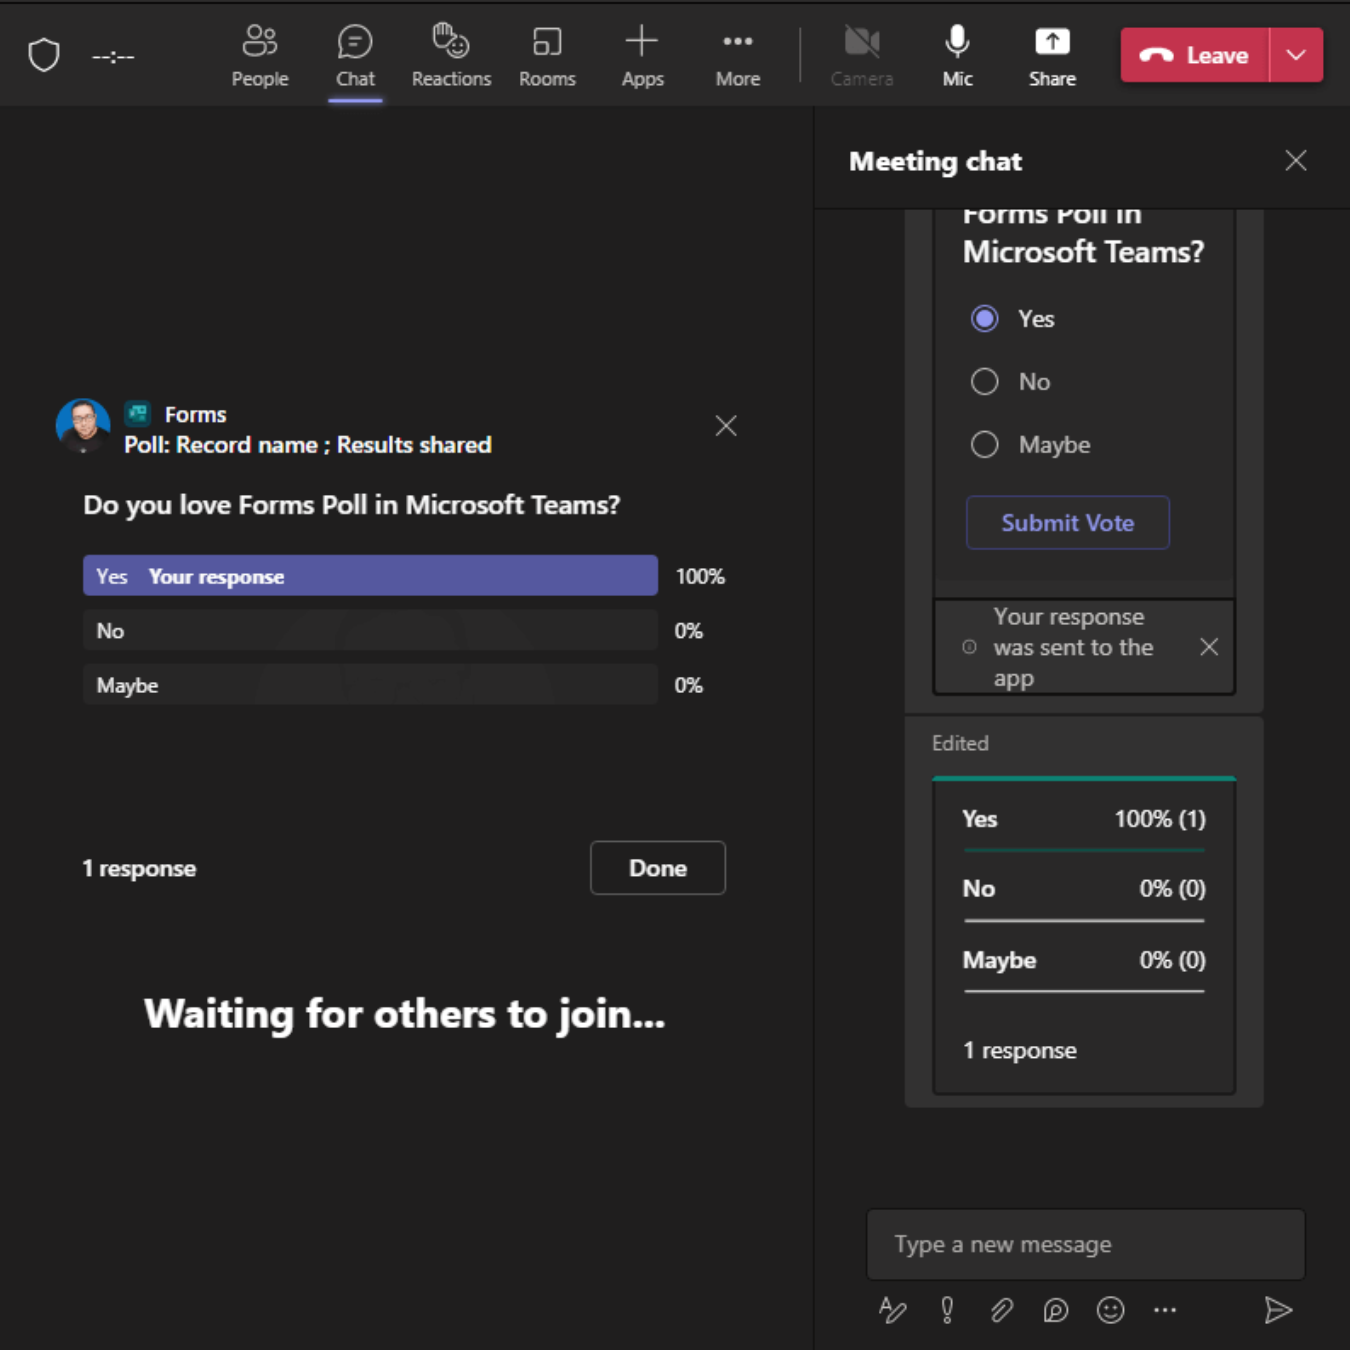
- Create and share a Poll with attendees to gather information
More
- View additional settings, such as Starting a recording, a Timer, choose video effects, and accessibility settings
Camera
- Turn your webcam on or off. Click on the arrown to open Video settings
Mic
- Mute your microphone. Click on the arrow to open Microphone settings
Share
- Share your screen, window or app
Leave
- Leave the call. If you are the meeting organiser, you can choose to leave or end the meeting for everyone
Scheduling #
Schedule an online meeting
Schedule an online meeting #
To schedule a meeting in Teams, first select the Calendar icon on the left of the screen

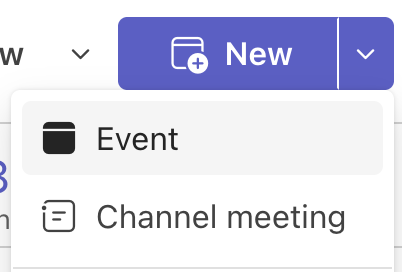
In the top-right of the screen, select the New button and choose Event
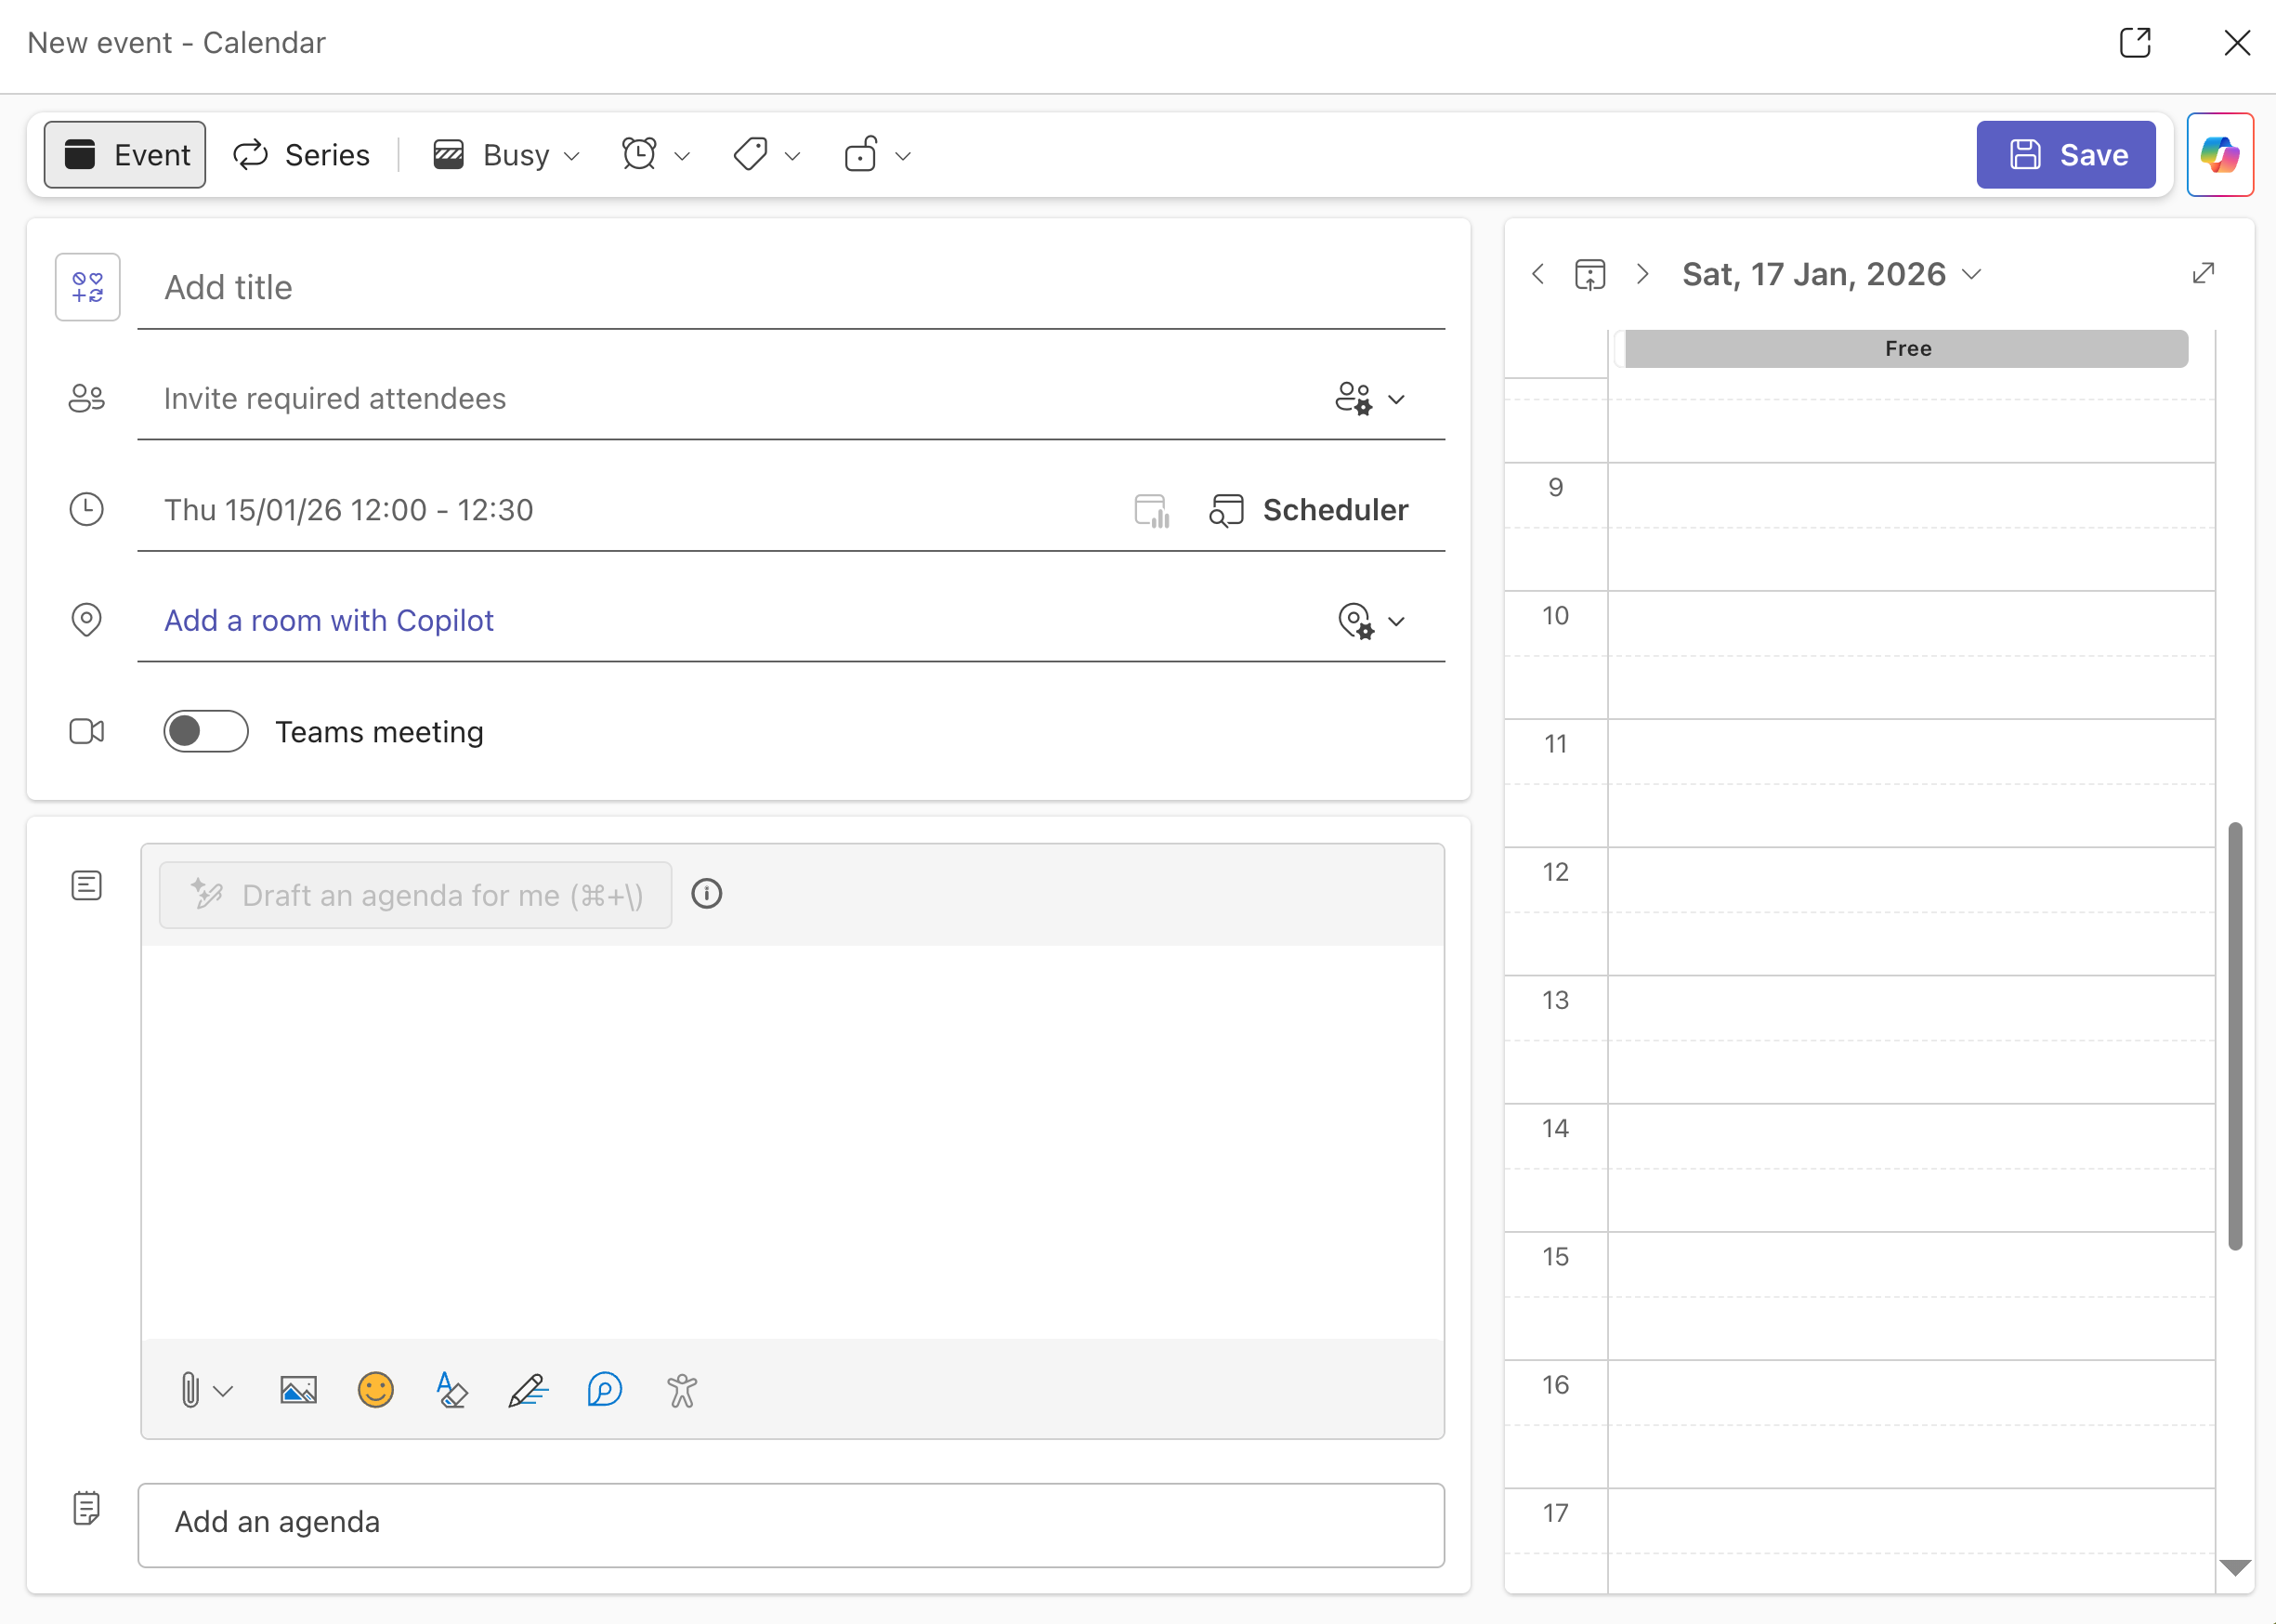
- Give your meeting a title
- Invite attendees (you will see if they are available or not in the calendar on the right
- Choose the date and time
- Switch on Teams meeting to make this an online call
- Remember to add a description note to the meeting so that attendees know what will be discussed
- You can add and collaborate on an agenda here
- Once all information has been added, select Save to schedule and send a notification to attendees
Schedule an online lesson via Moodle
Schedule an online lesson via Moodle #
You can use Microsoft Teams to arrange online lectures or teaching sessions with your students on a module.
It is possible to set up a meeting link via Moodle.
- Navigate to your module page in Moodle
- Enable Edit mode
- Choose where you want the link to appear and select Add an activity or resource

4. Select Text and media area from the options
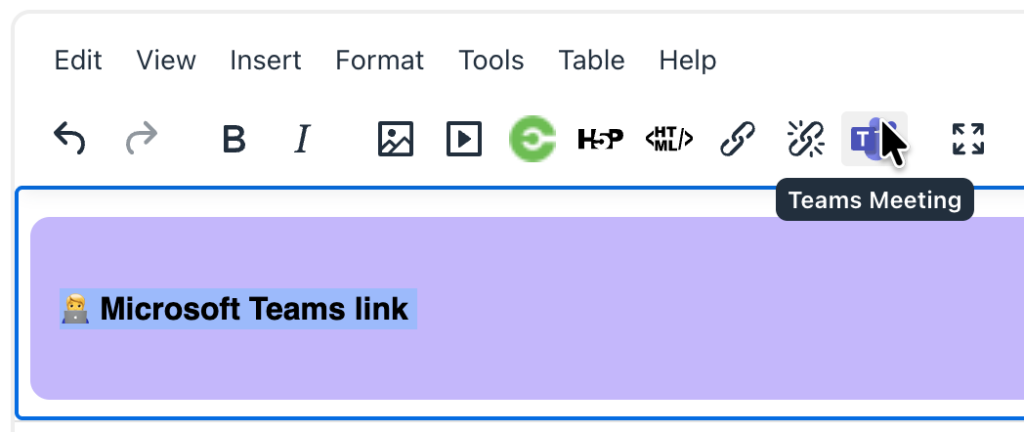
5. Choose HTML from the text editor

6. Select the Microsoft Teams link template from the list
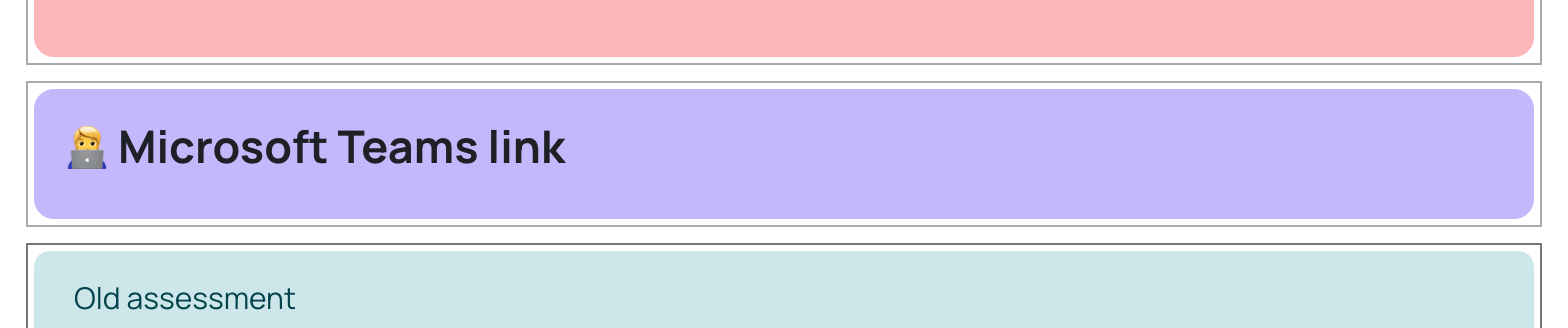
7. Highlight the Microsoft Teams link text and select the Teams meeting button
8. Sign in to your Microsoft account if prompted, and select Create meeting link
9. Give the meeting a title, date and time and select Create.
10. Select Add link to go back to the Moodle page
11. Click Save and return to course to complete the process

Features and tools #
Recording Teams meetings/lectures
Recording Teams meetings/lectures #
Record Teams meetings to reference later or share with others. Meeting recordings capture audio, video, and screen sharing activity, and can be shared securely across your organisation.
Start recording #
In a Teams meeting, one person can record at a time. When you start recording a meeting, everyone will be notified automatically. You can also turn on live transcriptions and view them during the meeting.
To start a meeting recording:
Start or join the meeting.
In your meeting controls, select More actions
Select Confirm.
To record audio only:
Select More actions
Select Record and transcribe
From the Choose what to record dropdown menu, select Audio only.
Select Confirm.
Stop recording #
In the meeting controls, select More actions
Choose one of the following:
Stop recording to stop the recording and live transcription.
Stop transcription to stop the live transcription only. The recording will continue until you select Stop recording.
Breakout rooms
Breakout rooms #
In Higher Education they are especially useful for:
- collaborative tasks
- small‑group seminars
- case‑based problem solving
- peer feedback activities
- project planning, etc.
Sharing your screen
Sharing your screen #
In Teams, there a multiple ways of sharing your content. This video gives you a quick overview of:
- sharing a PowerPoint presentation
- sharing a window
- sharing your whole screen
- enabling annotation for collaboration
For more details on screen sharing, you can access the Microsoft guide:
Microsoft Whiteboard (interactive tool)
Microsoft Whiteboard #
Whiteboard is a new application available alongside Word, PowerPoint, Excel and Teams. It can be used online via a browser and via a downloaded app. You can utilise it to promote collaboration whether you are in a Teams meeting, or working face to face in a classroom.
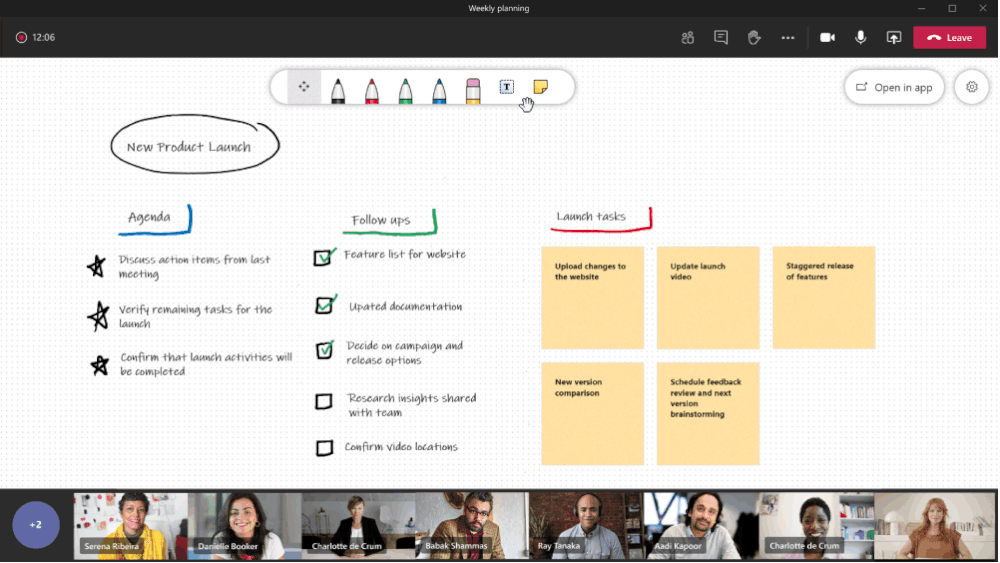
Whiteboards can be used to:
- Show or collaborate on information
- Draw, add images and text
- Pin sticky notes
- Collaborate on inbuilt templates designed for
- brainstorming
- problem solving
- design and research
- strategy
- project planning
- retrospective
- games
- workshops
- learning
Where can I use Whiteboard?
Whiteboard is available on the following platforms:
Additional support
Check Microsoft’s Whiteboard online guide for support with
- How do I create a new whiteboard?
- What are the basic areas of Whiteboard?
- How do I collaborate with others on Whiteboard?
- How do I interact with Whiteboard?
Teams Polls (interactive tool)
Teams Polls #
Accessibility #
Live captions
Live Captions #
Microsoft Teams’ live captions and translated captions offer a powerful way to make online learning more inclusive, accessible and engaging. With real‑time captioning that adapts to spoken language and the option to translate captions into dozens of languages, students can follow along more easily regardless of audio quality, background noise or language barriers.
For more information, please check Microsoft’s own guidance:
Accessibility tools for MS Teams
Accessibility tools for MS Teams #
Microsoft Teams is a messaging and collaboration app that lets everyone in your organization join the conversation and work together. This page contains an overview of the many accessibility features that make sure all users have the best possible experience.